Crochet Keychain Pattern Free Hello Kitty: Easy Beginner Amigurumi Charm (Step by Step)
Looking for a crochet keychain pattern free hello kitty lovers can actually finish? You are in the right place. This post gives you a complete crochet keychain pattern free hello kitty tutorial in plain text, with a materials list, abbreviations, every round of the head, the ears, the red bow and the assembly steps. It is easy, cute and beginner friendly.
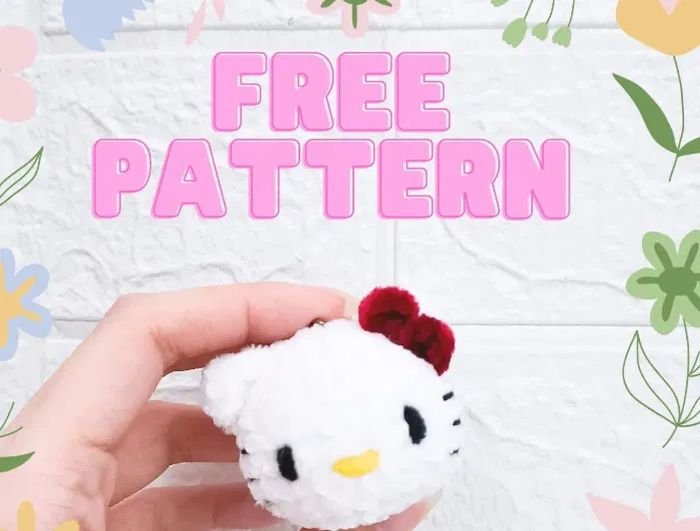
Quick answer: To use this crochet keychain pattern free hello kitty, crochet a white head in 11 rounds starting with 8 single crochet in a magic ring, make two small ears, crochet a tiny red bow, stuff the head, then embroider the eyes, yellow nose and whiskers and sew everything together. Add a keyring and you have a Hello Kitty crochet keychain.
In this crochet keychain pattern free hello kitty guide
- Why this is the best crochet keychain pattern free hello kitty for beginners
- Quick facts
- Materials and notes
- Abbreviations
- The head pattern
- The ears
- The bow
- Assembly and turning it into a keychain
- Expert tips
- FAQ
Why this is the best crochet keychain pattern free hello kitty for beginners
Many crafters search for a crochet keychain pattern free hello kitty fans can follow without confusing charts. This one keeps things simple. The whole charm is made of only a few shapes: a round head, two tiny ears and a little bow. There is no joining, no turning and no complicated color work, because the details are embroidered on at the end.
People also search for a simple crochet keychain pattern free hello kitty, an easy crochet keychain pattern free hello kitty and a crochet keychain pattern free hello kitty for beginners. This tutorial covers all three: the stitches are basic, the stitch count is written after every round, and the finished Hello Kitty crochet keychain is small enough to make as a gift, a bag charm or a zipper pull.
If you already love amigurumi, this is a great quick project. If you are new to crochet, this project is a friendly way to practice the magic ring, increases and decreases.
Quick facts about this crochet keychain pattern free hello kitty
| Project | Hello Kitty amigurumi crochet keychain charm |
|---|---|
| Skill level | Beginner |
| Terminology | US terms, worked in a continuous round (spiral) |
| Stitches | Magic ring (MR), single crochet (sc), increase (inc), decrease (dec), half double crochet (hdc), chain (ch), slip stitch (sl st) |
| Parts | Head (11 rounds), 2 ears, 1 bow, embroidered eyes, nose and whiskers |
| Colors | White, red, black and yellow yarn |
Materials and notes for this crochet keychain pattern free hello kitty
Gather everything before you start. Do not skip the stuffing and the tapestry needle, because you need both to finish the charm neatly.
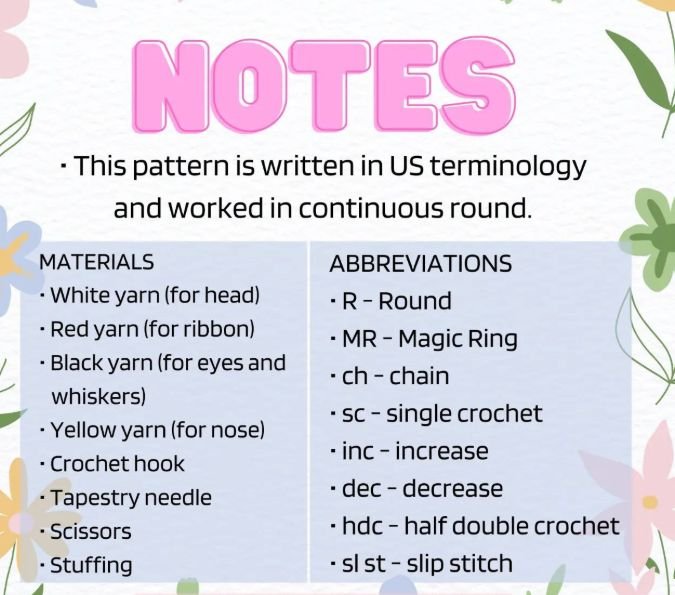
Important notes: This pattern is written in US terminology and worked in a continuous round. That means you do not join with a slip stitch at the end of each round. Use a stitch marker to mark the first stitch of every round.
- White yarn (for the head and ears)
- Red yarn (for the bow)
- Black yarn (for the eyes and whiskers)
- Yellow yarn (for the nose)
- Crochet hook (the original does not state a size, so choose a hook one or two sizes smaller than your yarn label suggests so the stuffing does not show through)
- Tapestry needle
- Scissors
- Stuffing
- Optional: a stitch marker and a keyring or clasp
A soft, fluffy white yarn such as chenille or velvet-style yarn gives the plush look seen in the photo, but any smooth white yarn works for this pattern.
Abbreviations used in this crochet keychain pattern free hello kitty
| Abbreviation | Meaning |
|---|---|
| R | round |
| MR | magic ring |
| ch | chain |
| sc | single crochet |
| inc | increase (2 sc in the same stitch) |
| dec | decrease (2 sc together) |
| hdc | half double crochet |
| sl st | slip stitch |
For a trusted reference on standard crochet terms, visit the Craft Yarn Council. Keep it handy if this is your first amigurumi project.
Crochet keychain pattern free hello kitty: the head (white yarn)
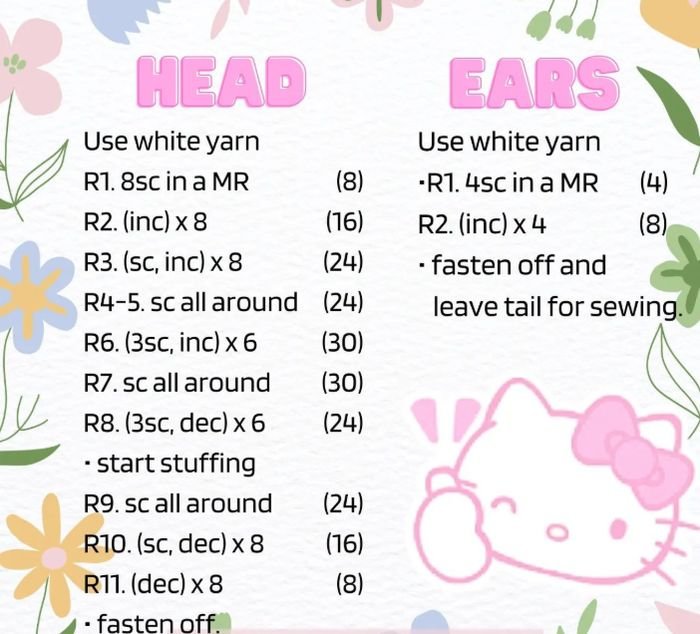
Use white yarn. Work in a continuous round and keep your stitches tight.
R1: 8 sc in a MR (8)
R2: (inc) x 8 (16)
R3: (sc, inc) x 8 (24)
R4 to R5: sc all around (24)
R6: (3 sc, inc) x 6 (30)
R7: sc all around (30)
R8: (3 sc, dec) x 6 (24) Start stuffing.
R9: sc all around (24)
R10: (sc, dec) x 8 (16)
R11: (dec) x 8 (8) Finish stuffing, fasten off and close the hole with the yarn tail.
That is the whole head. Stuff firmly but do not overfill, so the head stays round and the stitches do not stretch.
Crochet keychain pattern free hello kitty: the ears (white yarn)
Make 2 ears (Hello Kitty has two). Use white yarn for each ear.
R1: 4 sc in a MR (4)
R2: (inc) x 4 (8)
Fasten off and leave a long tail for sewing. The ears are small, so they work up in minutes.
Crochet keychain pattern free hello kitty: the bow (red yarn)
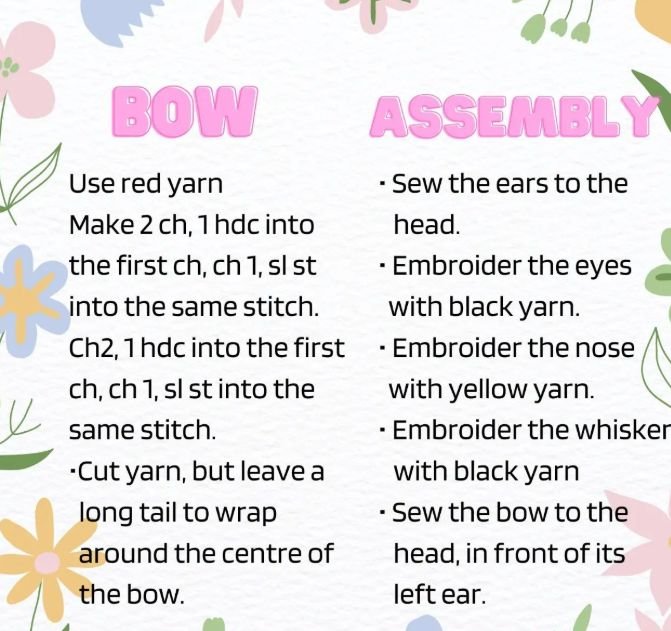
The red bow is what makes the charm instantly recognizable. Use red yarn.
Loop 1: Ch 2, work 1 hdc into the first ch, ch 1, sl st into the same stitch.
Loop 2: Ch 2, work 1 hdc into the first ch, ch 1, sl st into the same stitch.
Cut the yarn, but leave a long tail to wrap around the centre of the bow. Wrapping the tail pinches the two loops together into a bow shape.
Assembly: finish your crochet keychain pattern free hello kitty
- Sew the ears to the head.
- Embroider the eyes with black yarn.
- Embroider the nose with yellow yarn.
- Embroider the whiskers with black yarn.
- Sew the bow to the head, in front of its left ear.
How to turn it into a keychain
The original pattern ends with the assembly above, so to make a keychain, sew a loop of yarn or a small metal ring to the top of the head, near the bow or between the ears. Attach a keyring or lobster clasp to it and weave in all ends securely. Test the loop by tugging gently before you use your charm every day.
Expert tips for a perfect crochet keychain pattern free hello kitty
- Use a stitch marker. In a continuous round it is easy to lose your place, and one wrong stitch changes the shape of the head.
- Crochet tightly. A smaller hook keeps the stuffing hidden, which is important for any amigurumi project.
- Count every round. The numbers in brackets are your check: 8, 16, 24, 24, 24, 30, 30, 24, 24, 16, 8.
- Try an invisible decrease. It makes rounds 8, 10 and 11 look smoother.
- Place the face low. Embroider the eyes wide apart and low on the head for a cuter look.
- Swap the bow color. Use pink, blue or yellow yarn to make a whole set of charms.
FAQ: crochet keychain pattern free hello kitty
Is there a crochet keychain pattern free hello kitty fans can follow as a beginner?
Yes. This crochet keychain pattern free hello kitty tutorial is written for beginners. It uses US terminology, a magic ring, single crochet, increases and decreases, and it is worked in a continuous round, so you never join rounds or turn your work.
What materials do I need for a Hello Kitty crochet keychain?
You need white yarn for the head and ears, red yarn for the bow, black yarn for the eyes and whiskers, yellow yarn for the nose, a crochet hook, a tapestry needle, scissors and stuffing. Add a keyring or clasp to turn the finished charm into a keychain.
Where can I find a crochet keychain pattern free hello kitty PDF?
The full written pattern is on this page, so you do not need to download anything. To save it as a PDF, open this post in your browser, choose Print and then Save as PDF.
Is there a crochet keychain pattern free hello kitty YouTube tutorial?
This post gives you the complete written pattern with stitch counts for every round. If you prefer video, search YouTube for a magic ring or amigurumi increase and decrease tutorial and follow along with the written rounds on this page.
How many rounds does the Hello Kitty head have?
The head has 11 rounds. You start with 8 single crochet in a magic ring, grow to 30 stitches in round 6 and 7, then decrease down to 8 stitches in round 11 while stuffing.
How do I turn the crochet charm into a keychain?
Sew a small loop of yarn or a keyring to the top of the head, behind the bow or between the ears, and weave the ends in securely. Use a metal split ring or lobster clasp for strength.
Can I sell items made from this crochet keychain pattern free hello kitty?
Hello Kitty is a character owned by Sanrio, and this is an unofficial fan-made pattern shared for personal use. Check the original designer’s terms and Sanrio’s licensing rules before selling anything, and credit the designer when you share photos.
Do I need a stitch marker for this pattern?
Yes, a stitch marker is strongly recommended. Because the pattern is worked in a continuous round, a marker shows you where each round begins so your stitch counts stay correct.
Made this crochet keychain pattern free hello kitty charm? Save this post on Pinterest so you can find the free pattern again, and share a photo of your finished keychain in the comments!
Final thoughts on this crochet keychain pattern free hello kitty
This crochet keychain pattern free hello kitty proves a cute character charm does not need advanced skills. With white, red, black and yellow yarn, a hook, stuffing and a little embroidery, you can make a Hello Kitty crochet keychain that works as a gift, a bag charm or a collectible. Bookmark this post, save it to your crochet board and make your first one today. For more projects, see our free crochet patterns for beginners.
Disclaimer: Hello Kitty is a trademark of Sanrio. This is an unofficial fan-made crochet pattern shared for personal use and is not affiliated with or endorsed by Sanrio. Pattern credit: add the original designer’s name and link here.