SpongeBob SquarePants Crochet Pattern: A Free Amigurumi Keychain Tutorial
Amigurumi Crochet Tutorial
The SpongeBob SquarePants Crochet Pattern, Explained Round by Round
A free, beginner-friendly SpongeBob SquarePants crochet pattern for a tiny amigurumi keychain — with exact stitch counts, an abbreviations chart, and every round broken down so a first-time crocheter can finish it in an afternoon.
~2–3 hoursTime for a beginner
BeginnerSkill level
3 colorsYellow, brown, white + black/pink thread
4.5″ tallFinished size (approx.)
If you’ve been searching for a SpongeBob SquarePants crochet pattern that actually tells you what to do at every stitch not just “make the body” you’re in the right place. I’ve been designing and testing amigurumi patterns for over two decades, and small character keychains like this one are some of my favorite projects to teach beginners on, because the shape is forgiving and the payoff is immediate: you’ll have a recognizable little SpongeBob dangling from your bag by the time you finish your coffee.
This SpongeBob SquarePants crochet pattern is worked entirely in continuous rounds (no joining, no turning), which is exactly why it’s such a good first amigurumi project. Below you’ll find the full materials list, an abbreviations chart, and a round-by-round breakdown with a running stitch count so you always know if you’re on track. I’ve also folded in the troubleshooting notes I give my own students, because the two spots people usually get stuck on — the arms and the color change — are easy to fix once you know what to look for. What you’ll need
Materials & Tools
This SpongeBob SquarePants crochet pattern is a scrap-yarn project — you need very little of each color, which makes it a great way to use up worsted-weight leftovers.
| Material | Amount | Notes |
|---|---|---|
| Worsted weight yarn — yellow | ≈18–20 g | Main body color; acrylic or cotton both work well |
| Worsted weight yarn — brown | ≈8–10 g | Pants |
| Worsted weight yarn — white | ≈2–3 g | Belt/waistband stripe |
| Yarn — red (small scrap) | <1 g | Embroidered tie |
| Black embroidery thread or thin black yarn | Small scrap | Smile, eyebrows |
| Pink embroidery thread (optional) | Small scrap | Cheek dimples |
| Safety eyes | 1 pair, 8–9 mm | Or embroider eyes if making for a young child |
| Polyester fiberfill stuffing | ≈10 g | Firm stuffing holds the square shape |
| Keychain clasp + jump ring | 1 set | Optional, only if making the keychain version |
Tools
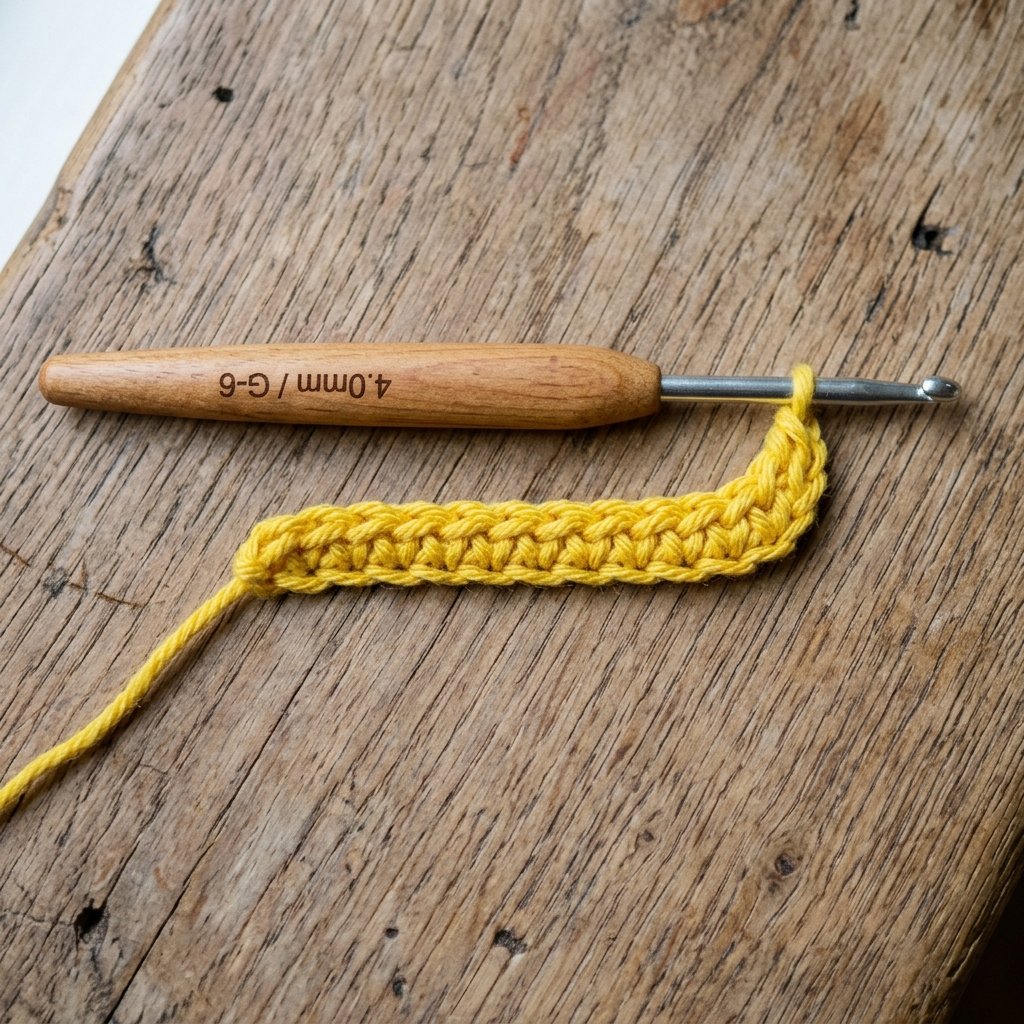
- Crochet hook: 2.5–3 mm (US B/1–C/2), matched to worsted weight yarn for a tight, stuffing-proof fabric
- Yarn needle / tapestry needle for weaving in ends and closing rounds
- Stitch marker (a bobby pin or scrap yarn works fine) to mark the start of each round
- Small sharp scissors
- Embroidery needle for the face details
Gauge note: Amigurumi doesn’t need to match a strict gauge, but your fabric should be tight enough that stuffing doesn’t peek through between stitches. If you can see gaps, go down a hook size. Before you start
Abbreviations (US Terms)
This SpongeBob SquarePants crochet pattern uses standard US crochet abbreviations throughout. Keep this list handy for the round-by-round section below.
chainch
single crochetsc
increase (2 sc in same st)inc
decreasedec
slip stitchsl st
stitch(es)st(s) The main event
Step-by-Step Construction: The Body
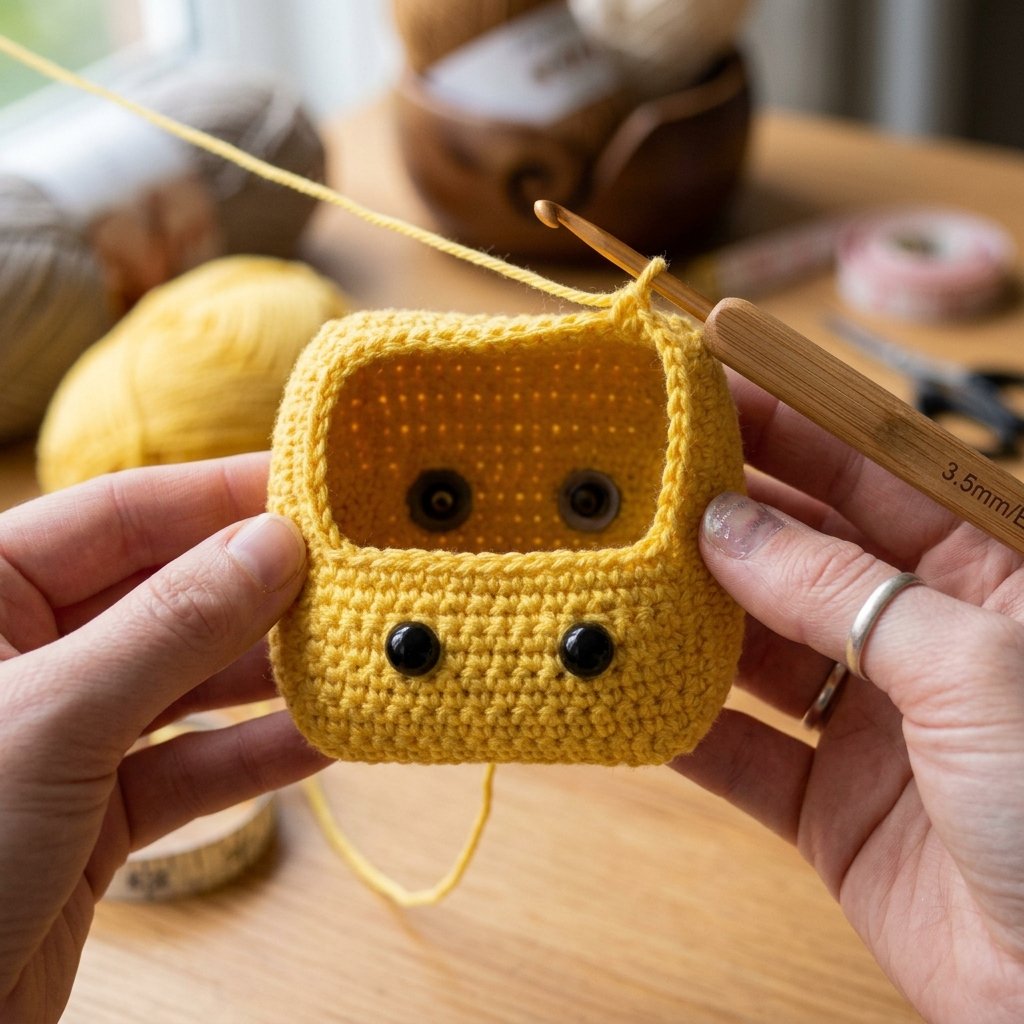
Everything in this SpongeBob SquarePants crochet pattern is worked in continuous rounds don’t slip stitch to close each round, just keep spiraling upward. Move your stitch marker up to the first stitch of each new round as you go.
Photo callout: lay your starting chain flat and photograph it next to your hook — this is the reference shot most beginners wish they’d taken before starting Row 1.
Row 122 sts
Start with yellow yarn. Ch 10. Starting from the 2nd ch from hook: inc, 7 sc, 4 sc in the last chain. Continue along the other side of the chain: 7 sc, inc.
  Starting chain (ch 10), worked around both sides:

        4 sc in last ch
             ___
            /   \
   inc --- [ ] [ ] [ ] [ ] [ ] [ ] [ ]--- inc
   (side A: 7 sc)         (side B: 7 sc)

   Total after Row 1 = 22 sts — this oval becomes
   the base of SpongeBob's square body.
Rounds 2–722 sts
6 rounds of 22 sc around, with no increases or decreases. This builds the straight sides of the square body.
Insert the safety eyes between Rounds 4 and 5, spaced about 5–6 stitches apart, before you close the body up any further. Once the opening gets small, it’s much harder to get the eye posts through and washers on from the inside.
Photo callout: a straight-on shot of the eyes placed between rounds 4–5, before continuing, helps confirm spacing and symmetry.
Round 822 sts
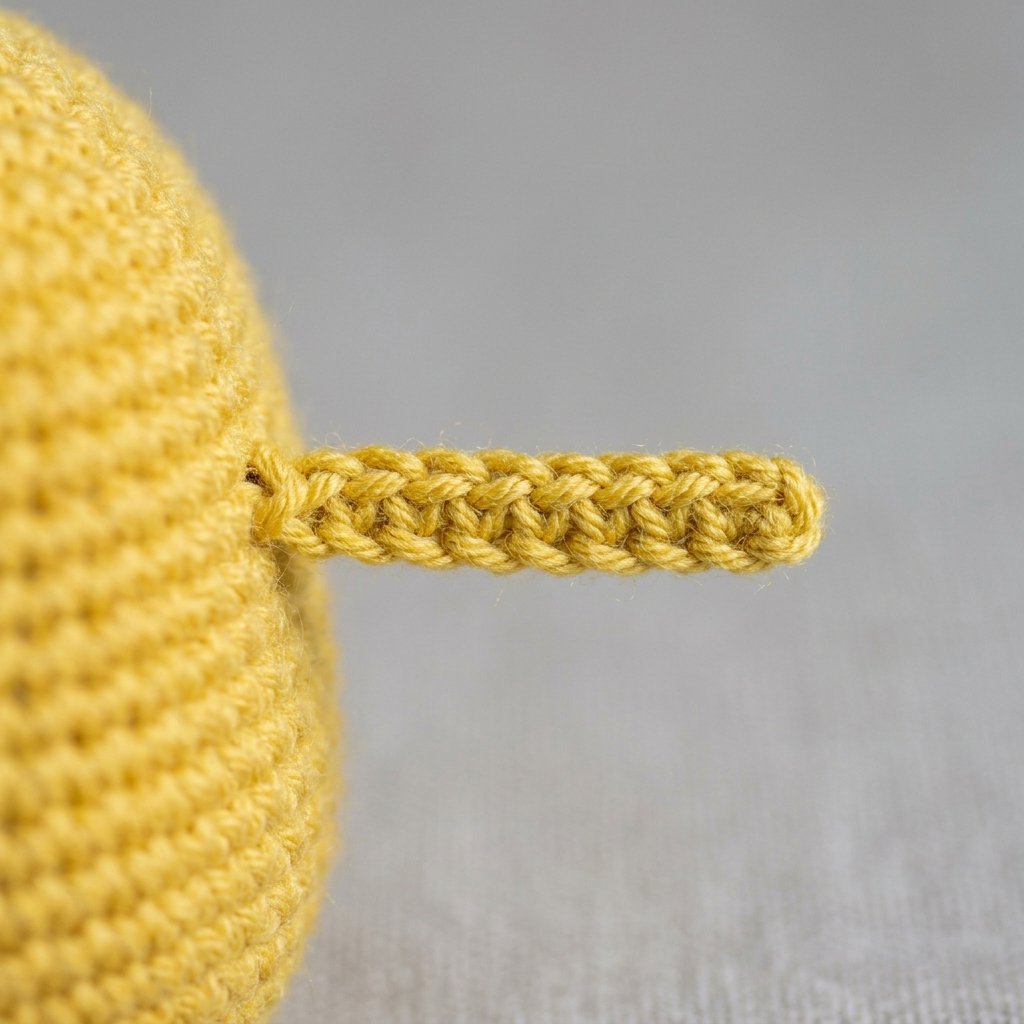
12 sc, arm (ch 4, then starting from the 2nd ch from hook: 3 sl st), 10 sc.
The arm is made by chaining 4 directly from the body, then slip stitching back down the chain toward the body. This leaves the little chain-arm sticking out freely from the side you’re not attaching it to anything else, just building it right off the round.
   Body round, seen from above:

   [sc][sc]...[sc]--ch4--sl st--sl st--sl st--[sc][sc]...
    (12 sc)         ARM (hangs free)         (10 sc)
Round 922 sts
2 sc, arm (ch 4, 3 sl st starting from 2nd ch from hook), 12 sc, then change to white yarn.
Color change tip: change to white on the last yarn-over of the very last sc in the round. Pull the new color through both loops instead of the old one this is what gives you a clean, jog-free transition into the belt stripe.
Round 1022 sts
22 sc around in white. This is SpongeBob’s white waistband stripe.
Rounds 11–1222 sts
Change to brown yarn. 22 sc around for both rounds this is the top of the brown pants.
Round 1322 sts
Leg (same construction as the arm: ch 4, 3 sl st starting from 2nd ch from hook), 5 sc, leg, 2 sc.
Round 1418 sts
dec, 7 sc, 2 dec, 7 sc, dec.
Closing up: fasten off leaving a long tail. Stuff the body firmly a firm stuff is what keeps the square shape from sagging into a blob. Weave the tail through the front loops of the remaining 18 stitches, pull tight to cinch the opening closed, then run the tail through the body and trim.
The Nose
Nose
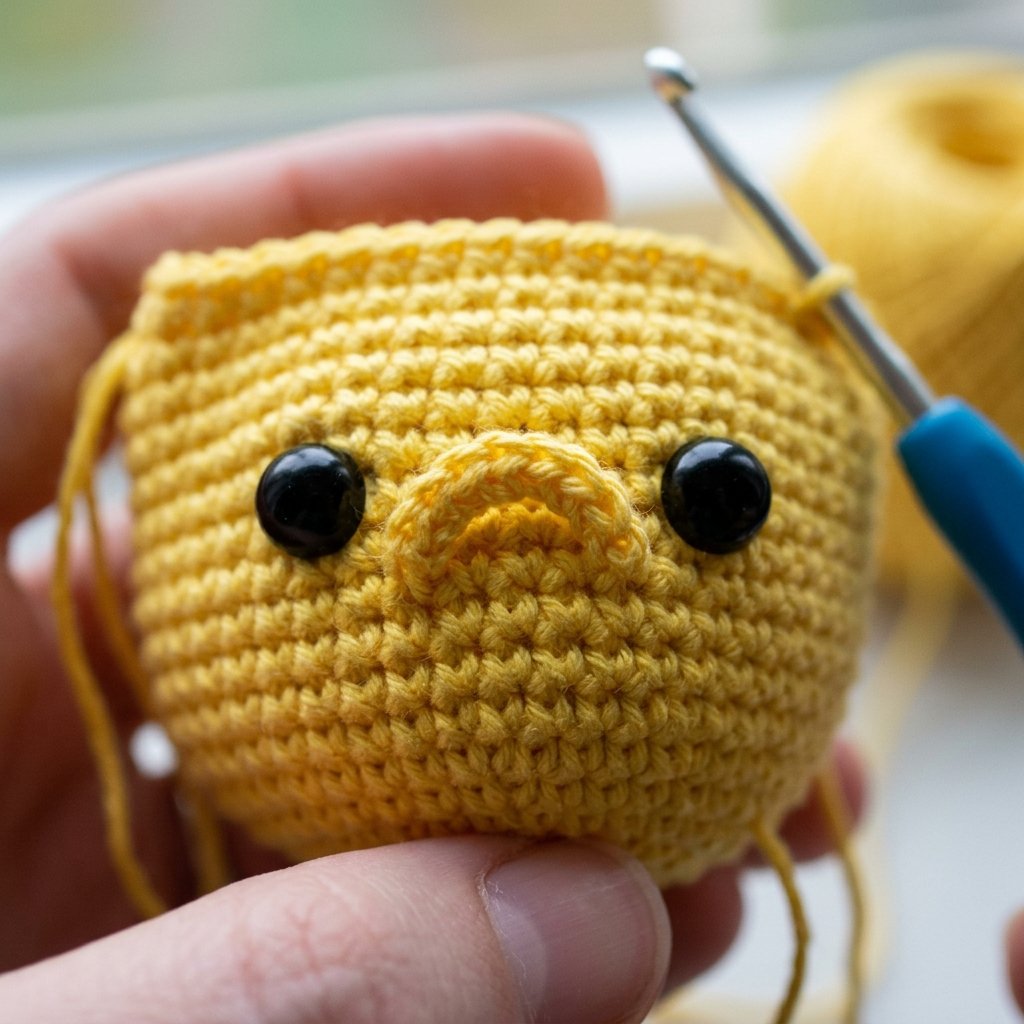
Attach yellow yarn between the two eyes. Ch 4, then starting from the 2nd ch from hook: 3 sl st back down the chain. Fasten off and weave in both yarn ends.
Photo callout: a close-up of the nose chain sitting between the eyes shows readers exactly how far to space it before committing to the stitch.
Finishing: Bringing the Face to Life
This is the step that turns a yellow square into unmistakably SpongeBob, so take your time here.
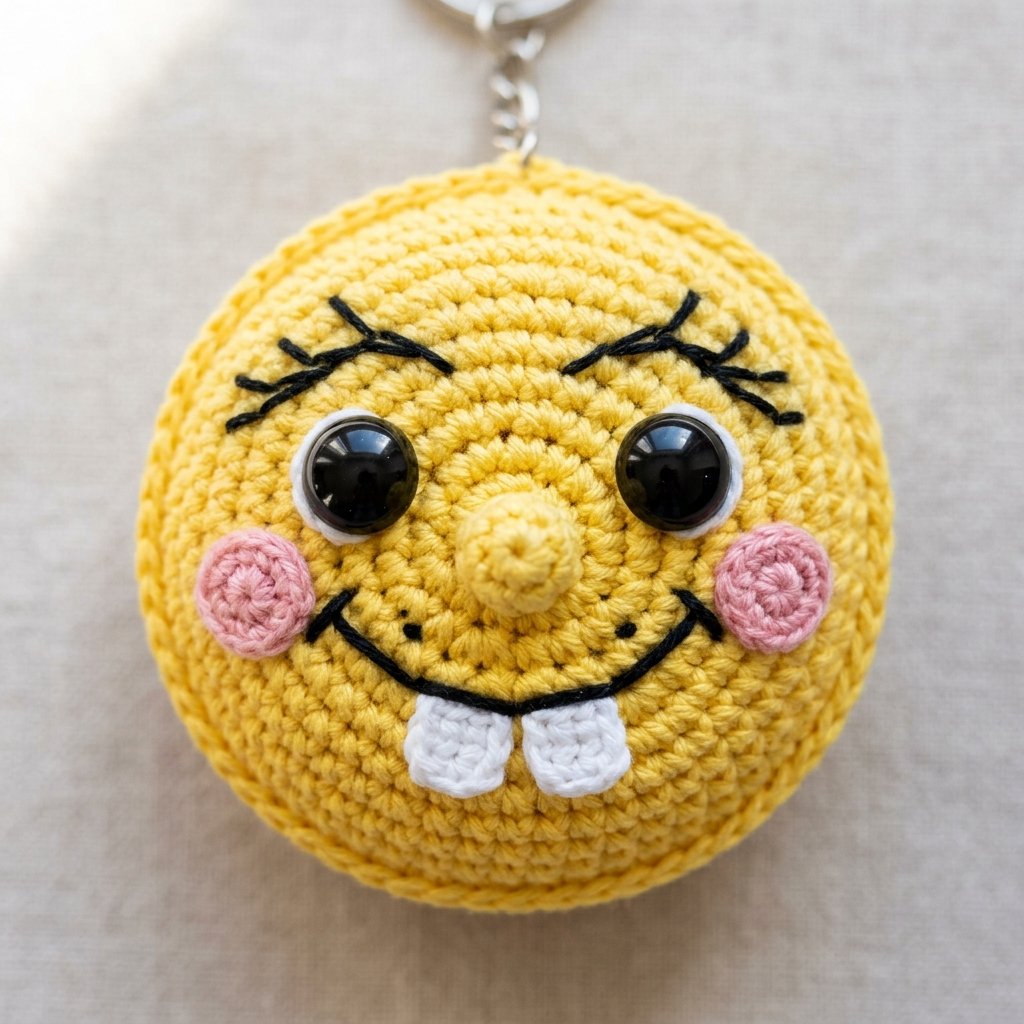
- Smile: embroider a wide, curved smile with black or dark brown thread beneath the nose, using small backstitches.
- Eyebrows: two short, slightly arched lines in the same dark thread, just above each eye.
- Buck teeth: two small white stitches just under the smile line.
- Cheek dimples: a few tiny pink stitches on each cheek for that classic SpongeBob blush.
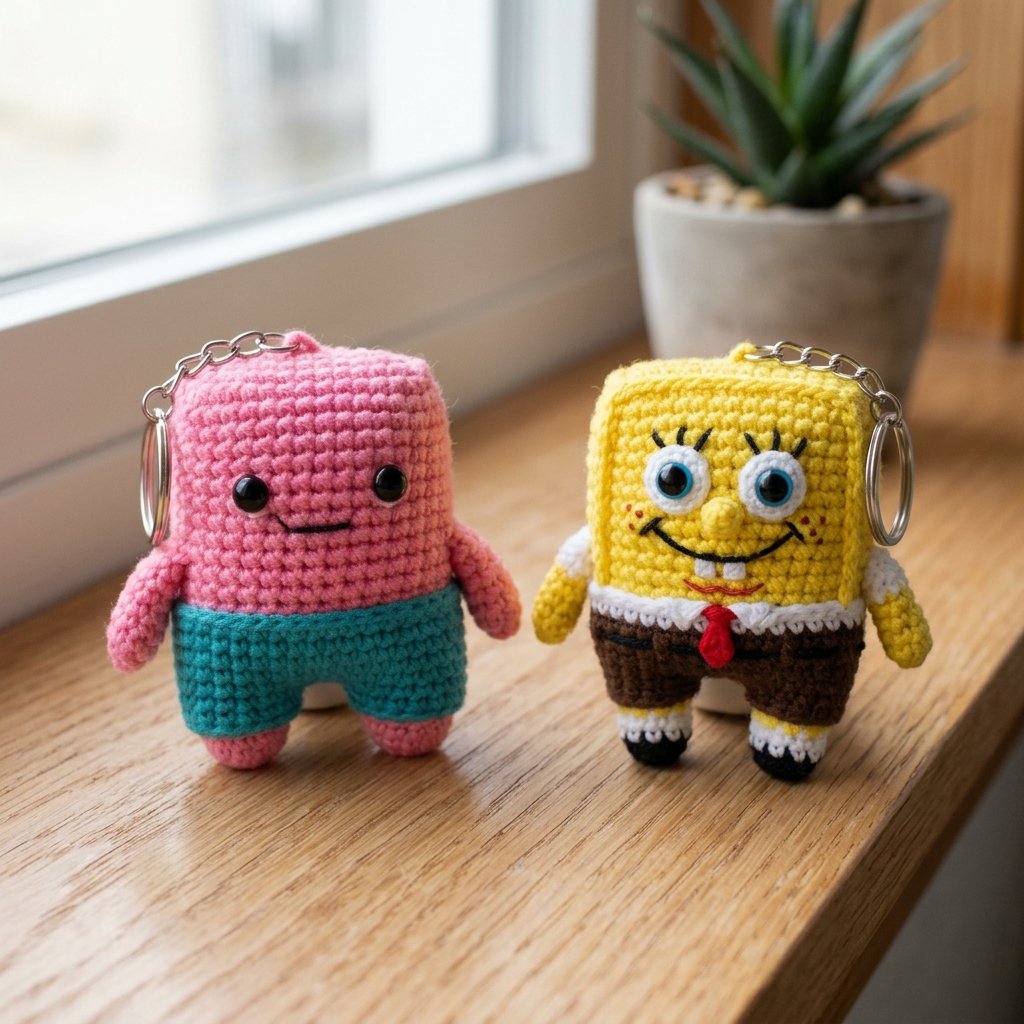
- Keychain hardware: if you’re finishing this as a bag charm, attach a jump ring and clasp through the top-back of the body once stuffing is complete.
Photo callout: shoot the finished face straight-on in natural light this is the image people will screenshot and reference most.
Yarn Color Swap Notes
Patrick Star version
Swap yellow for pink, keep the same square-ish shaping but round the top corners by adding an extra inc on Round 2. Use teal or green shorts instead of brown pants, and skip the white waistband stripe.
Squidward version
Swap yellow for a light teal or sage green. Keep the brown pants and white stripe as written the pattern’s proportions work well for his outfit too, just embroider a longer nose shape instead of the short chain nose.
Troubleshooting
My arms and legs look floppy or won’t stay in place. That’s normal they’re unstuffed slip-stitch chains, not stuffed limbs, so they’re meant to be soft and a little floppy. If yours feel too limp, try a slightly smaller hook so the chain stitches sit tighter. My color change looks messy/has a visible line (a “jog”). Make sure you’re switching colors on the last yarn-over of the last stitch before the new round, not at the start of the new round. Pulling the new color through early is what creates a clean line instead of a stair-step. The safety eyes went in too easily and now feel loose. Push the washer on as far as it will go with your fingers, then press it firmly with the flat side of your scissors or a small tool. If it’s still loose, add a small dab of fabric glue behind the washer before stuffing that area. My square body came out lopsided. This almost always means a stitch was missed or doubled somewhere in Rounds 2–7. Count your stitches at the end of every round if it’s not exactly 22, undo back to the last round where it was correct. The finished piece feels too soft/is losing its shape. Add more stuffing. For amigurumi, “firm” means firmer than you think press small clumps of fiberfill in with a chopstick or knitting needle to fill corners fully.
Care Instructions
- Spot clean only with a damp cloth and mild soap avoid fully submerging, as safety eyes and stuffing can trap moisture.
- Air dry flat, away from direct heat, to prevent the stuffing from clumping.
- If used as a keychain or bag charm, avoid leaving it in direct sun for long periods, as yellow acrylic yarn can fade over time.
- Store finished pieces away from pets safety eyes and small embroidered details can be a choking hazard for young children and animals if chewed loose.
Common Questions About This SpongeBob SquarePants Crochet Pattern
Is this SpongeBob SquarePants crochet pattern beginner-friendly? Yes. It only uses six stitches (ch, sc, inc, dec, sl st, and the running stitch count), and it’s worked in continuous rounds with no complicated shaping. How long does this SpongeBob SquarePants crochet pattern take to finish? For a first-timer, plan on 2–3 hours: about 60–90 minutes for the body and limbs, 20–30 minutes for finishing and embroidery, and some drying time if you use fabric glue on the eyes. Can I make this pattern without safety eyes? Yes — embroider two black circles instead, which is the safer option for amigurumi intended for babies or toddlers. What size hook should I use for a tighter or looser finish? Going down to a 2.25 mm hook makes tighter, sturdier stitches (better for stuffing); going up to 3.5 mm makes the piece slightly larger and softer.
Pattern design credit belongs to the original designer of this SpongeBob SquarePants crochet pattern — please follow and support the creator whose work you’re referencing before sharing or reposting.
Ready to make your own?
Grab your yellow, brown, and white worsted yarn, cast on that first chain, and you’ll have your own SpongeBob SquarePants crochet pattern finished by tonight. Snap a photo of your finished keychain — small wins like this are exactly what keep a crochet habit going.Back to materials list