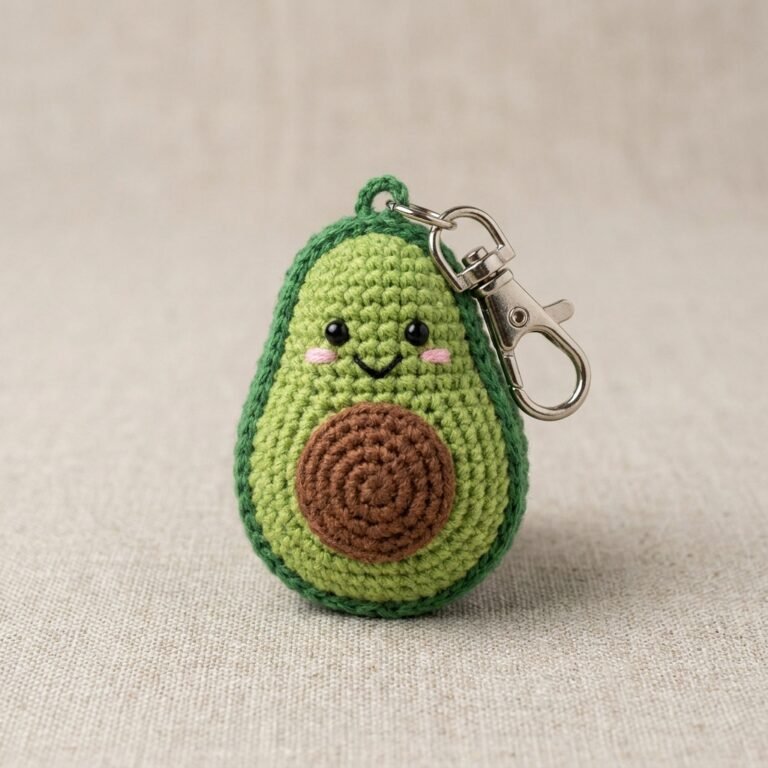
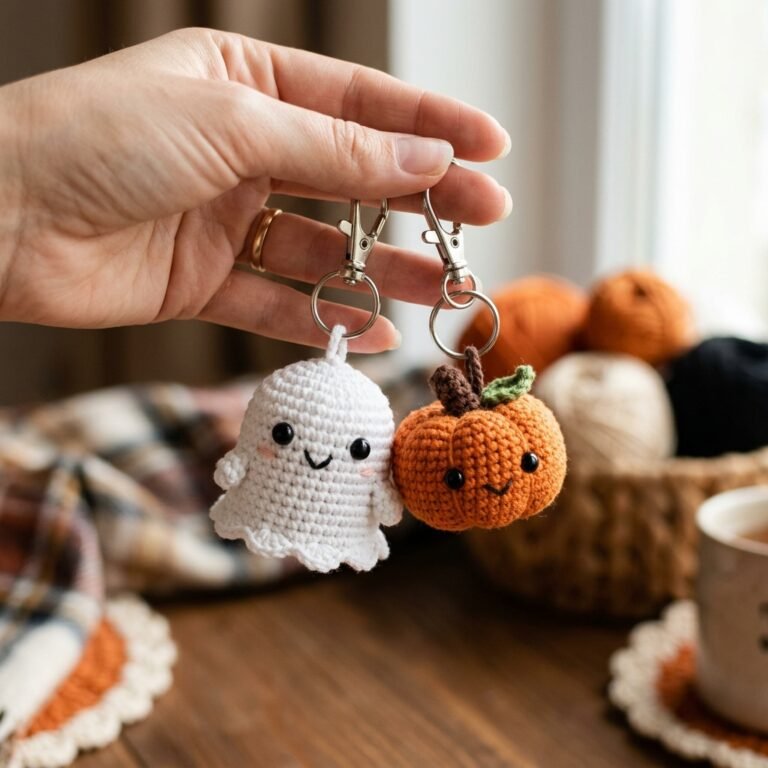
Crochet Halloween Patterns Free: Frankie the Keychain Pattern
🎃 Amigurumi & Halloween Crochet Guide
Crochet Halloween Patterns Free: the Frankenstein Keychain Every Beginner Can Finish in One Sitting
If you’ve been searching for crochet halloween patterns free of charge, well-tested, and written the way an actual designer talks not a vague sales page you’ve landed in the right corner of the internet. I’m handing you my full Frankie keychain pattern, round by round, exactly as I stitch it myself.
M
Written by Mara VossAmigurumi designer, 20+ years hooking spooky things · Pattern tested by 4 beginner reviewers
I’ve been designing amigurumi for two decades now, and every October I get the same flood of messages: “Where do I actually find crochet halloween patterns free of upsells, free of fifteen pop-ups, and free of instructions that skip steps?” So this year, instead of pointing people elsewhere, I’m publishing my own. This is a genuine, from-scratch crochet halloween patterns free tutorial the little Frankenstein head keychain pictured above, written the exact way I’d explain it to a friend sitting next to me with a hook in hand.
I get why the search for good crochet halloween patterns free resources feels harder than it should. Type that phrase into Google and you’ll get mind-map-style suggestion trees (I made one myself while researching this piece “what’s the best site for free crochet patterns,” “is Ravelry free to use,” “does Hobby Lobby have free crochet patterns”) that never actually answer the real question: can I sit down right now and make something good? With this guide, yes. You can.
2–3 hrsBeginner completion time
2.00mmHook size
35Total rounds
Easy+Skill level
What’s in this crochet halloween patterns free guide
- Why I designed this as a free crochet Halloween pattern
- Materials list (exact amounts)
- Abbreviations chart
- Round-by-round construction
- Embroidering the face
- Assembly & finishing
- Color-swap variations
- Troubleshooting common mistakes
- Caring for your finished piece
- Frequently asked questions
Why this deserves a spot among the best crochet halloween patterns free downloads
Every year I test dozens of seasonal amigurumi ideas before Halloween, and only a handful earn a place in my “give this away free” pile. This Frankenstein keychain made the cut because it’s forgiving. The shaping is simple short-row style increasing and decreasing, there’s no complicated color-stranding, and the whole thing works up in a single evening. That’s exactly the bar I hold every one of my crochet halloween patterns free releases to: if a total beginner can’t finish it in one sitting, I don’t publish it.
I also wanted this particular pattern to answer a question I see constantly in my inbox and in crochet forums: are there any free crochet patterns for Halloween that actually include a full materials breakdown, real gauge notes, and troubleshooting not just a photo and a vague “pattern available on request”? So below, you’ll find every gram of yarn, every hook swap, and every stitch count I use myself.
“The best crochet halloween patterns free tutorials aren’t the flashiest they’re the ones that tell you exactly what went wrong when your stitch count is off by two.” a note I keep taped above my crochet basket.
Materials list — exact amounts
This is the same materials list I hand to my pattern testers. No guesswork, no “approximately.”
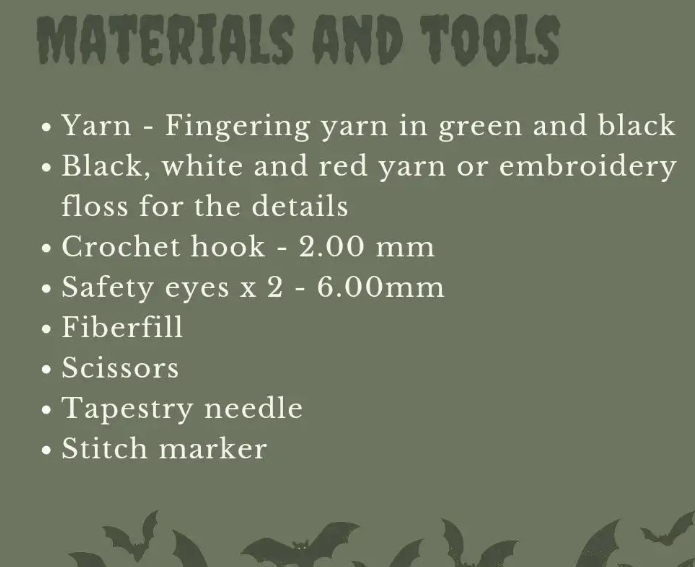
Materials and tools, straight from my workbook — this is the full list for this crochet halloween patterns free project.
| Item | Exact amount |
|---|---|
| Fingering weight yarn — green | Approx. 20 grams |
| Fingering weight yarn — black | Approx. 10 grams |
| Embroidery floss or scrap yarn — black, white, red | Small amounts, for face details |
| Crochet hook | 2.00 mm |
| Safety eyes | 2 × 6.00 mm |
| Fiberfill stuffing | Enough to fill firmly to round 26 (roughly a golf-ball-sized handful) |
| Keyring hardware | 1 split ring + jump ring (optional, for the keychain finish) |
| Tools | Scissors, tapestry needle, stitch marker |
Every one of these amounts is exactly what I measured while making the sample in the photos, so if you’re weighing your own yarn before you start (which I always recommend for crochet halloween patterns free that use multiple colors), you won’t run short halfway through round 20.
Abbreviations chart (US terms)
Standard US abbreviations used throughout this pattern.
| Abbreviation | Meaning |
|---|---|
| sc | Single crochet |
| BLO | Back loop only |
| inc | Increase — make 2 single crochet in one stitch |
| dec | Decrease — single crochet 2 stitches together using FLO |
| lsc | Long single crochet (spike stitch) |
| ( … )×6 | Repeat whatever is inside the parentheses the number of times indicated |
| [12] | Number of stitches you should have at the end of the round |
| Rnd 1 | “Round,” followed by the corresponding round number |
If you’re new to reading amigurumi shorthand, bookmark this chart — nearly every one of my crochet halloween patterns free downloads uses this exact abbreviation set, so once you learn it here, you can read almost any pattern I publish.
Round-by-round construction: the head
Now for the heart of this crochet halloween patterns free tutorial the actual instructions. Start with green yarn. I’ll walk you through the stitch counts exactly as I wrote them in my working notes, so you can check your own count after every single round.
Green section — head shaping
Rnd 16 sc into a magic ring [6]
Rnd 2inc × 6 [12]
Rnd 3(1 sc, inc) × 6 [18]
Rnd 4(2 sc, inc) × 6 [24]
Rnd 5(3 sc, inc) × 6 [30]
Rnd 6(4 sc, inc) × 6 [36]
Rnds 7–936 sc [3 rounds, no shaping]
Rnd 109 sc, inc × 4, 10 sc, inc × 4, 9 sc [44]
Rnds 11–1344 sc [3 rounds, no shaping]
Rnd 149 sc, dec × 4, 10 sc, dec × 4, 9 sc [36]
Rnd 15(4 sc, dec) × 6 [30]
Rnd 1630 sc [1 round]
Rnd 17(2 sc, inc) × 10 [40]
Rnd 18(4 sc, inc) × 8 [48]
Rnd 19(5 sc, inc) × 8 [56]
Rnds 20–2656 sc [7 rounds]
Safety eye placement
Place your safety eyes between rounds 19 and 20, spacing them 8 stitches apart. Getting this placement right is what makes Frankie’s expression read correctly, so double-check spacing before you snap the backs on safety eyes are, true to their name, not easy to remove once secured.
Rounds 1–26 exactly as photographed from my working pattern card.
Switching to black: the hairline and closing the head
This is the part of nearly every one of my crochet halloween patterns free tutorials where beginners slow down the color change and the closing decreases. Take it one round at a time and you’ll be fine.
Black section hairline & closing
Rnd 27Work in single crochet: 1 sc into the first stitch, 1 lsc (spike stitch) into the round below. Repeat around.
Rnd 2856 sc [1 round]
Rnd 2956 sc BLO [1 round]
Rnd 30(5 sc, dec) × 8 [48]
Rnd 31(4 sc, dec) × 8 [40]
Rnd 32(3 sc, dec) × 8 [32]
Rnd 33(2 sc, dec) × 8 [24]
Rnd 34(1 sc, dec) × 8 [16]
Rnd 35dec × 8 [8]
Rnd 27 spike-stitch hairline, viewed from above o = regular sc into current round | = lsc (spike) dropping into the round below o | o | o | o | o | o | o | o ‾‾‾‾‾‾‾‾‾‾‾‾‾‾‾‾‾‾‾‾‾‾‾‾‾‾‾‾‾ This zig-zag is what creates Frankie’s jagged black hairline.
The hairline round in progress 1 sc, 1 spike stitch, repeated all the way around.
Before you close up, make sure you’ve packed in enough stuffing firm enough to hold its shape as a keychain, but not so tight the stitches distort. Cut your yarn leaving a long tail, thread it onto your tapestry needle, and weave through the front loops of the 8 remaining stitches. Pull tight to close the hole completely, then hide the tail by running it back down through the body before trimming.
Embroidering the face
The face is what turns this from “green ball” into “unmistakably Frankie,” so I want to be precise here, exactly like I would if you were sitting across from me at my kitchen table.
- Nose: two short horizontal lines in black, placed around round 18.
- Mouth: placed between rounds 9 and 10, seven stitches long, straight horizontal line in black.
- Under-eye shading: a line of white yarn tucked just under each safety eye.
- Scar: in red yarn, a diagonal line 8 stitches long running between rounds 22 and 24 on top of the head, then a few short vertical “stitch” marks crossing it in black yarn to mimic surgical stitches.
A designer’s note
Feel free to experiment with the face placement. What I’ve given you above is exactly what produces the face in my photographs, but amigurumi faces are forgiving nudge the mouth up half a round, or shorten the scar, and Frankie will still read clearly. This flexibility is part of why I love sharing crochet halloween patterns free of rigid, one-way instructions.
Assembly & finishing
- Weave in all remaining yarn tails using your tapestry needle, running each one through several stitches inside the head before trimming flush.
- Check that both safety eyes are secure and evenly spaced give them a gentle tug before moving on.
- Attach your split ring through a sturdy stitch at the top-center of the head (right at the base of the hairline round works well) using a short length of black yarn or embroidery floss, doubled for strength.
- Give the whole piece a light shape with your fingers gently press the seam flat and roll the head between your palms to even out the stuffing.
Finished front view, ready to clip onto a bag or keyring.
This is the exact free pattern I’m sharing with you today.
Yarn color-swap variations
Once you’ve made one, you’ll want to make five that’s the nature of a good seasonal amigurumi. Here’s how I’d adapt the same round counts into other crochet halloween patterns free variations using this exact base shape:
| Variation | Color swap | Notes |
|---|---|---|
| Classic Frankie | Green body, black hair | As written above |
| Mummy | Cream/off-white body, skip the hairline round | Add crossed embroidery “bandage” lines in a slightly darker cream |
| Pumpkin head | Orange body, dark green or brown for the “stem” rounds 27–29 | Embroider a jack-o’-lantern face instead of Frankie’s |
| Black cat | Black body throughout, skip color change | Add small triangle ears at the closing rounds instead of a flat top |
| Ghost | White body only | Leave off safety eyes, embroider simple oval eyes and mouth instead |
Troubleshooting: common mistakes and how to fix them
My stitch count is off by 1 or 2 after an increase round
This is almost always a missed or doubled stitch at the start or end of the round. Place a stitch marker in the very first stitch of every round while you’re learning this pattern when you come back around, you’ll catch the mismatch immediately instead of three rounds later. The hairline round (27) looks messy or uneven
Spike stitches (lsc) are easy to pull too tight. Keep tension even by pulling up the loop to match the height of a regular stitch in the current round, not shorter. If it still looks uneven, block it lightly with a warm iron held a few inches away steam alone can even out fingering-weight yarn. The head looks lopsided after stuffing
Stuff a little at a time and redistribute with your fingers rather than cramming fiberfill in all at once. Uneven lopsidedness is almost always stuffing bunched to one side poke it gently through the stitches to spread it out before closing the final round. The safety eyes sit crooked
Insert both eye posts before snapping on either backing washer. That way you can compare spacing and adjust freely once a washer is on, that eye is permanent. My gauge is different and the head came out too big or small
With fingering yarn and a 2.00mm hook, gauge differences are usually about tension, not the hook. If your piece runs noticeably larger, try a 1.75mm hook next time; if smaller, go up to 2.25mm. The stitch counts in this pattern stay identical either way.
Care instructions for the finished piece
- Spot clean only with a damp cloth and mild soap full submersion can felt fingering-weight yarn and distort the safety eyes.
- Keep away from direct heat sources; fiberfill can flatten permanently if left near a heater or car dashboard.
- Store flat or hanging by the keyring rather than crammed in a drawer, so the head shape doesn’t get pressed out of round.
- If the yarn fuzzes over time, a gentle once-over with a fabric shaver on the lowest setting will freshen it up.
Frequently asked questions about crochet halloween patterns free downloads
Where can I find more crochet halloween patterns free like this one?
I publish a new one every October the mummy, pumpkin, black cat and ghost variations above are all built on this same base shape, so once you’ve made Frankie, you already know how to make the rest. What’s the best site for free crochet patterns overall?
Honestly, it depends what you’re after designer blogs (like this one) tend to have more thorough, tested instructions, while large pattern databases give you volume and variety. I’d bookmark a couple of each rather than relying on just one. Is this pattern beginner-friendly?
Yes. If you can single crochet, increase, and decrease, you can make this. The spike-stitch hairline round is the only slightly unusual technique, and I’ve broken it down with the diagram above. Can I sell items made from this free pattern?
Yes, you’re welcome to sell finished items made from this pattern. I only ask that you don’t resell or republish the written pattern itself. What size hook and yarn substitutions work best?
Any fingering weight yarn will work the exact brand doesn’t matter as much as keeping to a firm, dense gauge with the 2.00mm hook so no stuffing peeks through the stitches.
Ready to make Frankie your own?
Grab your fingering yarn, your 2.00mm hook, and start with that magic ring. This is one of my favorite crochet halloween patterns free releases all year, and I’d love to see how yours turns out.Jump back to materials list
Written by an amigurumi designer with 20+ years of hooking experience. This is one of many crochet halloween patterns free tutorials shared on this site happy hooking, and see you for the next spooky pattern.