

Panda Crochet Pattern: The Complete Guide to Making an Amigurumi Panda
Everything you need to know before you pick up your hook — where to find a pattern, what yarn works best, and how hard a panda really is to make.
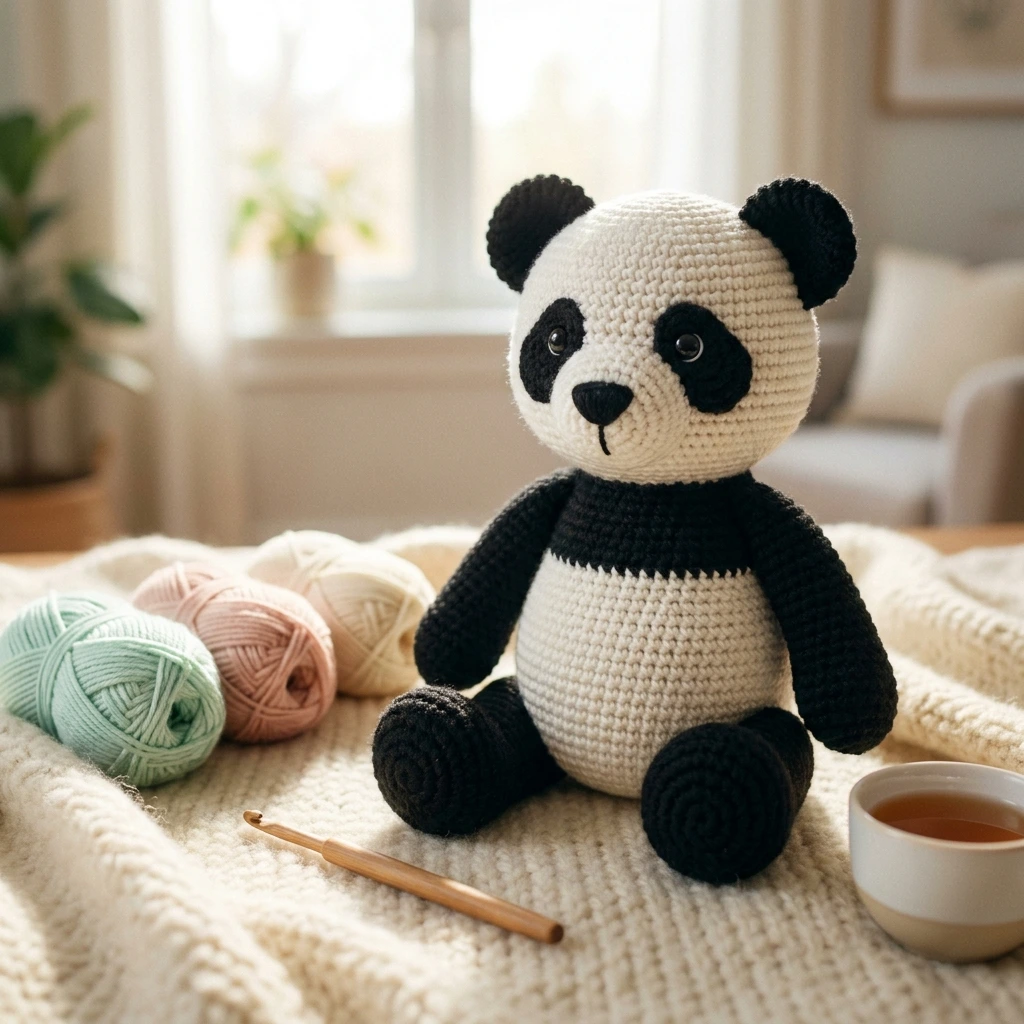
Your finished panda — this is the spot for the “money shot” photo people share on Pinterest.
There’s something about a crocheted panda that just makes people smile — the black-and-white contrast, the round little ears, the slightly clumsy charm of amigurumi proportions. If you’ve searched for a “panda crochet pattern,” you’re probably somewhere between “I want to make one” and “I have no idea where to start.” This guide walks through the questions people ask most, from finding a pattern to picking the right yarn and stitches.
Where Can I Find a Free Panda Pattern?
Free panda patterns exist, but quality varies a lot from one to the next. A few reliable places to look:
- Independent designer blogs — many amigurumi designers publish one or two free patterns as a way to showcase their paid collections.
- Ravelry — a searchable, filterable pattern library with thousands of free amigurumi designs.
- YouTube — creators often pair a free written pattern in the video description with a full video walkthrough, which is great if you’re newer to amigurumi and want to see the stitches in motion.
- Pinterest — mostly a discovery tool; pins usually link back to the blog or shop that actually hosts the pattern.
A note on paid patterns: Many of the best-looking panda designs — with clean shaping, safety-eye placement diagrams, and full photo tutorials for every stage — are sold by independent designers for a few dollars. That price covers the hours spent testing, writing, and photographing each round. If you find a pattern you love, buying it directly supports the designer and gets you accurate, complete instructions instead of a patchwork of free fragments.
What Yarn Is Best for a Crochet Panda?
Panda amigurumi almost always uses worsted-weight (medium, category 4) cotton or acrylic yarn, paired with a hook one or two sizes smaller than the yarn label recommends. Crocheting tightly this way is what keeps the stuffing from peeking through the stitches.
| Part | Typical yarn | Why |
|---|---|---|
| Body & head | White, medium-weight cotton/acrylic | Holds shape well, easy to stuff firmly |
| Ears, eye patches, arms/legs | Black, same weight | Matches gauge so pieces join cleanly |
| Outfit / accessories | Any contrasting color, same weight | Personalizes the toy — a scarf, dress, or bow tie |
A 2.5–3.5mm hook is typical for worsted weight amigurumi, but always crochet a small test swatch first — your tension is what actually determines the finished size, not the label on the yarn.
What Are Some Crochet Ideas for a Panda?
Once you’re comfortable with a basic panda body, there’s a lot of room to make it your own:
- Dress it in a tiny outfit — a bow tie, dress, or headband adds personality without much extra difficulty.
- Make a mini keychain-sized version using thinner yarn and a smaller hook.
- Turn it into a panda family — one large, one small, in matching colors.
- Swap the ears and markings for a red panda, koala, or other bear-shaped animal using the same base body.
Panda amigurumi is a genuinely good project for beginners, including younger crocheters and anyone who finds repetitive, rhythmic handwork calming — the stitch count stays small and predictable round to round, which makes it easier to follow without losing your place.
What Is the Hardest Crochet Pattern — and Is Panda One of Them?
Compared to genuinely difficult crochet work — Irish crochet lace, intricate colorwork tapestry pieces, or garments with complex shaping — amigurumi patterns like a panda sit closer to the beginner-to-intermediate range. The individual stitches are simple (mostly single crochet, increases, and decreases); the challenge is mostly about consistency and patience, not stitch complexity.
What makes any amigurumi pattern harder is usually:
- Color changes — switching threads cleanly without visible jogs.
- Shaping — following increase/decrease counts precisely so the piece stays symmetrical.
- Assembly — sewing pieces together so the toy sits and looks right, which is often harder than the crocheting itself.
How long does it take to crochet a panda?
Most amigurumi panda patterns take a beginner somewhere between 6 and 12 hours total, spread across a few sessions — faster once you’ve made a few and don’t need to double-check the pattern as often.
What is the easiest animal to crochet?
Simple round or oval-bodied animals — like a basic bear, cat, or panda — are typically the easiest starting points because they rely mostly on single crochet worked in a spiral, without complex limb shaping.
What materials do I need to crochet a panda?
At minimum: worsted-weight yarn in white and black (plus any accent colors), a crochet hook sized for that yarn, a yarn needle for sewing, polyester fiberfill for stuffing, stitch markers, and safety eyes.
Can beginners really make one?
Yes — a panda is a common first amigurumi project. It mostly uses single crochet, increases, and decreases, worked in a continuous spiral rather than turned rows, which is easier to keep track of than it sounds once you’ve done a round or two.
Getting Started: The Basics You’ll Need
Before diving into any panda pattern — free or paid — it helps to be comfortable with a few core techniques:
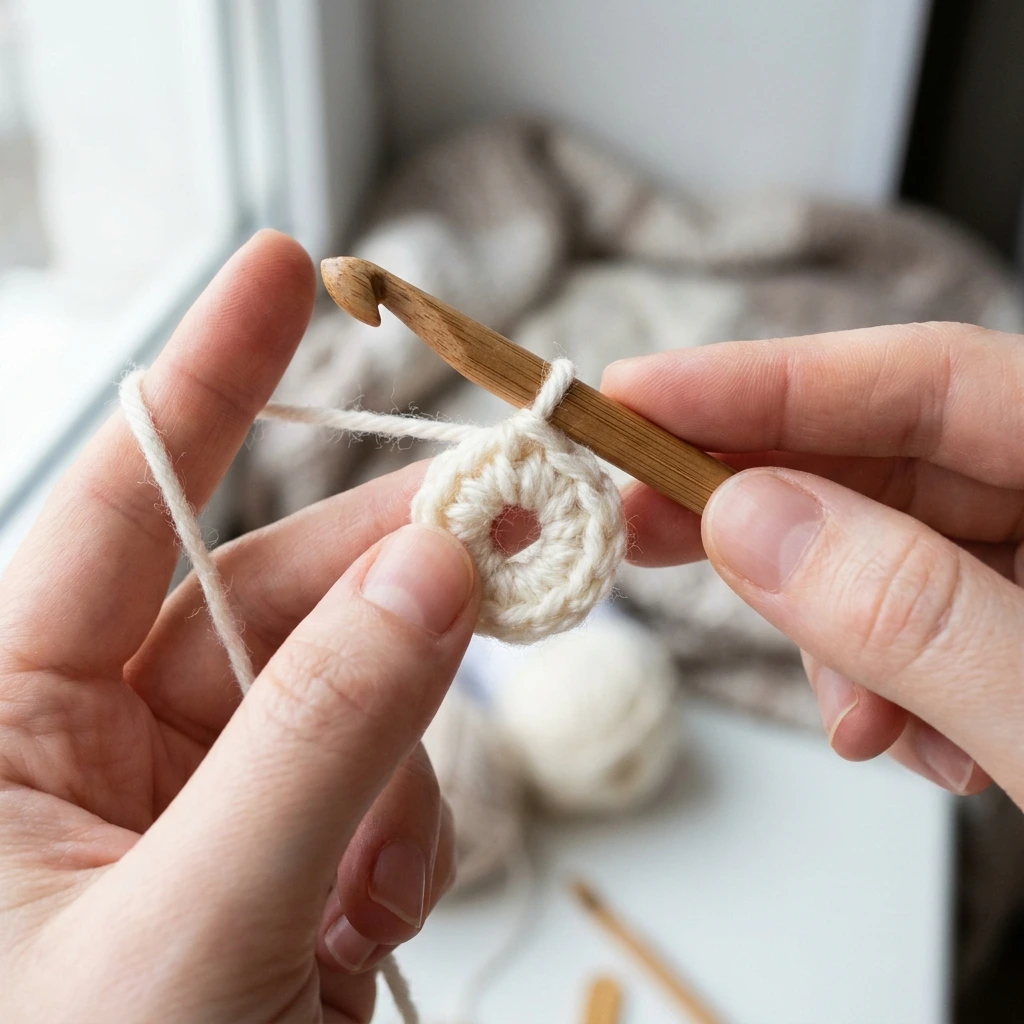
- Magic ring — the adjustable loop most amigurumi pieces start with, letting you close the center hole tightly.
- Single crochet (sc) — the main stitch used throughout.
- Increase (inc) and decrease (dec) — how rounds widen and narrow to shape the head, body, and limbs.
- Working in continuous rounds — amigurumi is crocheted in a spiral rather than joined rounds, using a stitch marker to track where each round starts.
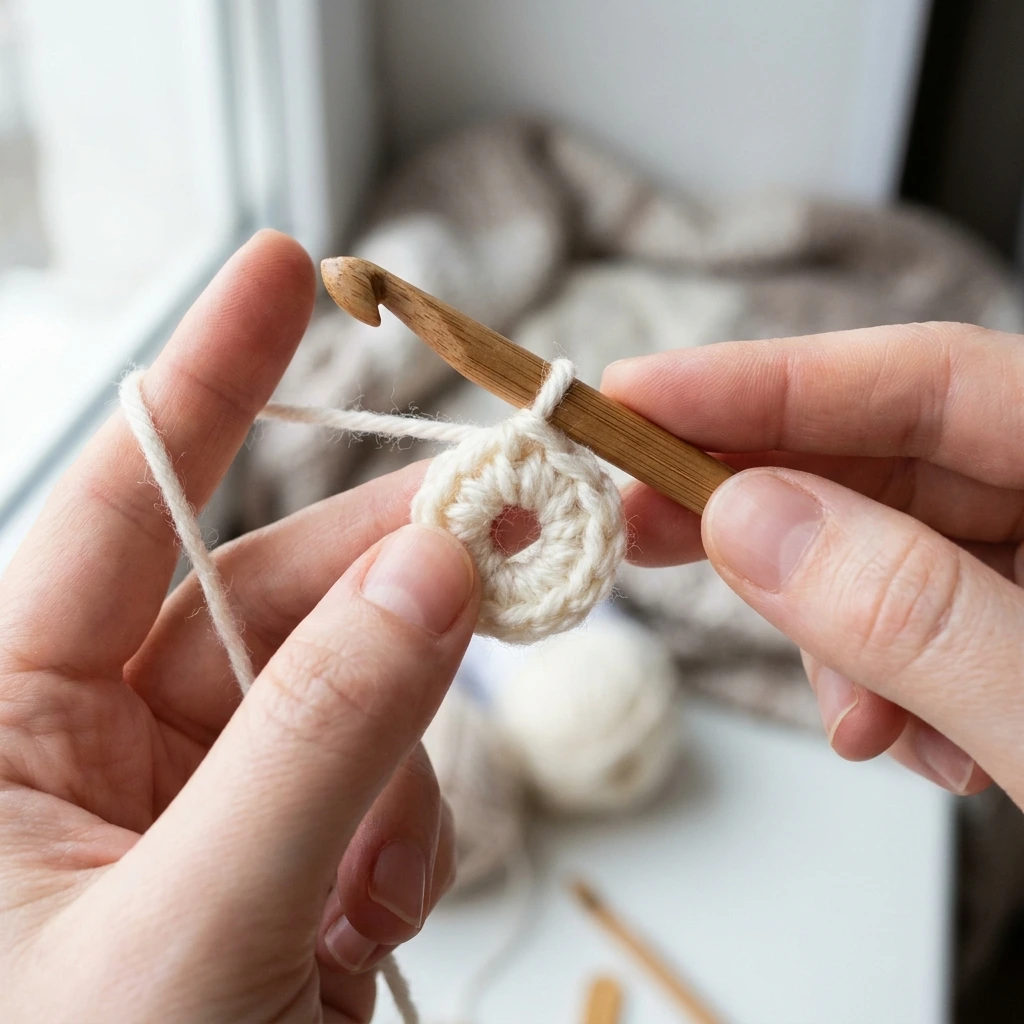
A quick visual reminder of the magic ring — most designers include this as step one.
A Simple Panda Amigurumi Pattern (Beginner-Friendly)
Here’s a straightforward panda pattern you can follow start to finish. It’s written for a worsted-weight yarn and a 3.0mm hook, making a panda roughly 6–7 inches (15–18cm) tall. Work every round in a continuous spiral (no joining, no turning) and use a stitch marker to track the start of each round.
Abbreviations
- MR – Magic ring
- sc – Single crochet
- inc – Increase (2 sc in same stitch)
- dec – Decrease (sc2tog)
- (…) × n – Repeat the sequence in parentheses n times
Materials
- Worsted-weight yarn: white, black, and one accent color (optional, for an outfit)
- 3.0mm crochet hook
- Polyester fiberfill
- Pair of 8–9mm safety eyes
- Yarn needle, scissors, stitch marker
Head (start in white)
- MR, 6 sc into ring (6)
- Inc around (12)
- (1 sc, inc) × 6 (18)
- (2 sc, inc) × 6 (24)
- (3 sc, inc) × 6 (30)
- (4 sc, inc) × 6 (36)
- Sc even, no increase (36)
- Sc even (36)
- Switch in black patches for eye area over the next 2 rounds, following your own placement — sc even (36)
- Sc even (36)
- (4 sc, dec) × 6 (30)
- (3 sc, dec) × 6 (24)
- (2 sc, dec) × 6 (18) — insert safety eyes now, stuff firmly
- (1 sc, dec) × 6 (12)
- Dec around (6) — fasten off, leaving a tail for sewing
Ears (make 2, in black)
- MR, 6 sc into ring (6)
- Inc around (12)
- Sc even (12) — fasten off, leave a tail, flatten and sew flat to the head
Body (start in white)
- MR, 6 sc into ring (6)
- Inc around (12)
- (1 sc, inc) × 6 (18)
- (2 sc, inc) × 6 (24)
- Sc even × 4 rounds (24)
- (2 sc, dec) × 6 (18) — begin stuffing as you close
- (1 sc, dec) × 6 (12)
- Dec around (6) — fasten off, leave a tail to sew to the head
Arms (make 2, black paws with white sleeve)
- In black: MR, 5 sc into ring (5)
- Sc even × 2 rounds (5)
- Switch to white, sc even × 5 rounds (5) — stuff lightly
- Fasten off, leave a tail to sew to the body
Legs (make 2, black feet with white leg)
- In black: MR, 6 sc into ring (6)
- Inc around (12)
- Sc even (12)
- Switch to white, sc even × 6 rounds (12) — stuff firmly
- Fasten off, leave a tail to sew to the body
Assembly
- Stuff the head and body firmly, keeping the shape rounded rather than lumpy.
- Sew the head to the top of the body, keeping it centered.
- Sew the ears to the top of the head, angled slightly outward.
- Sew the arms to the upper sides of the body.
- Sew the legs to the bottom of the body so the panda can sit or stand.
- Embroider or appliqué small black eye patches and a nose with black yarn if you haven’t already worked them into the head rounds.
- Optional: crochet a small strip or bow in your accent color to dress up the finished panda.
Sizing tip: This pattern is intentionally simple so you can adjust it — add 2–3 more “sc even” rounds to the body for a taller panda, or drop a round from the arms/legs for a chubbier, shorter look.
Final Thoughts
A panda is one of the friendliest amigurumi projects to start with — simple stitches, a satisfying black-and-white result, and endless room to customize once you’ve got the basic shape down. Whether you go with a free pattern to practice the fundamentals or invest in a detailed paid pattern for a cleaner finished result, the skills transfer directly to almost any other amigurumi animal you want to try next.
This guide is original content written to answer common questions about panda crochet patterns. If you’re looking for a specific, tested panda amigurumi pattern with full photo instructions, independent designers on platforms like Etsy and Ravelry sell detailed versions — buying directly supports the person who created it.


