

How to Crochet Sunglasses Holder: The Complete Cat-Shaped Free Pattern Guide
How to Crochet Sunglasses Holder: The Complete Cat-Shaped Free Pattern Guide
By a crochet pattern designer with 20+ years of amigurumi and accessory design experience
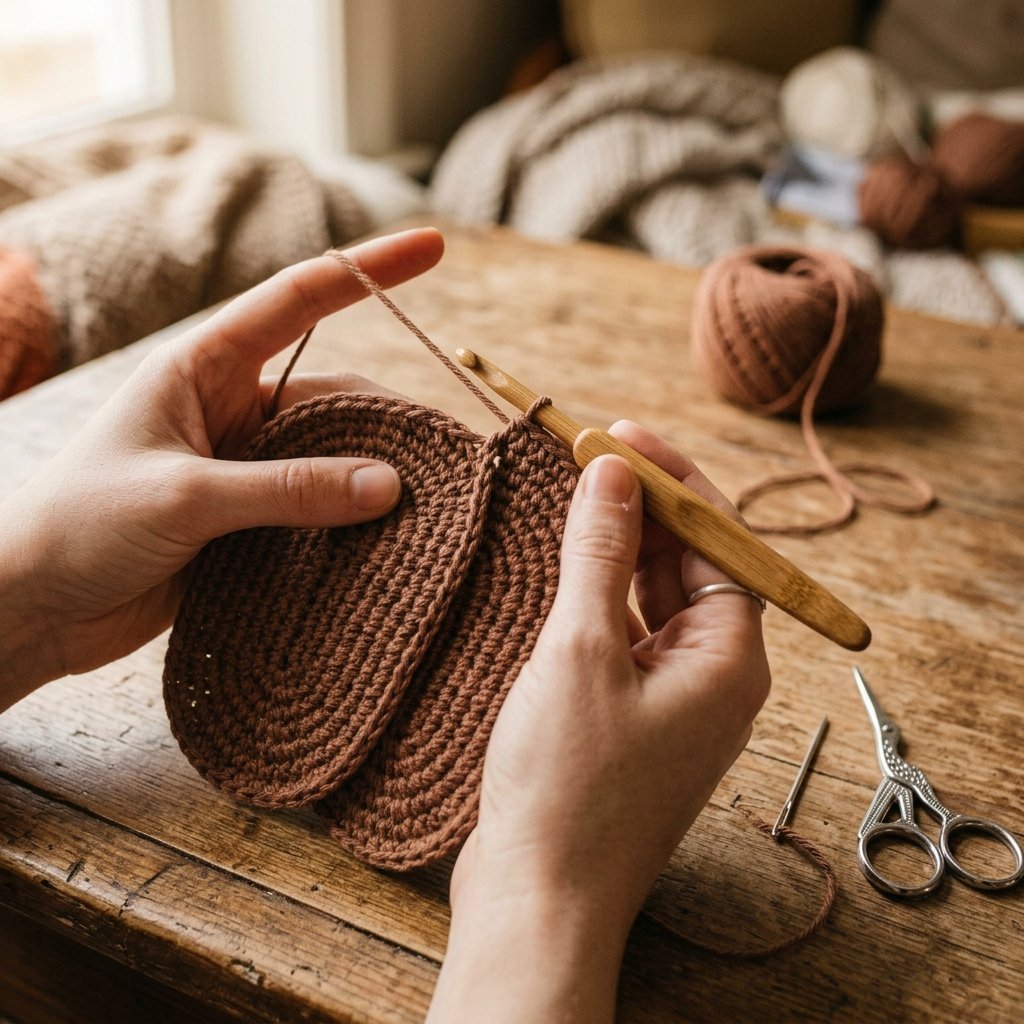
If you’ve ever tossed your favorite pair of shades into the bottom of a bag and pulled them out scratched, you already understand the appeal of a good crochet sunglasses holder. This guide walks you through building your own crochet sunglasses holder from scratch, using a charming cat-face amigurumi design that doubles as a soft, padded eyewear case. Whether you’re an experienced amigurumi maker or picking up a hook for the first time, this crochet sunglasses holder tutorial gives you everything you need: materials, tools, abbreviations, round-by-round instructions, troubleshooting, and finishing techniques.
In this guide:
- Why Make a Crochet Sunglasses Holder
- Materials List
- Tools Needed
- Abbreviations Chart
- Step-by-Step Construction
- Assembly Instructions
- Stuffing, Shaping & Finishing Details
- Troubleshooting
- Yarn & Color Variations
- Estimated Time to Complete
- Common Mistakes & Fixes
- Care Instructions
- Frequently Asked Questions
Why Make a Crochet Sunglasses Holder?
A handmade crochet sunglasses holder solves a real problem: loose sunglasses get scratched, bent, or lost in the bottom of a bag. Building your own crochet sunglasses holder gives you a padded, snug-fitting case sized exactly to your glasses, made from yarn you already love, in a shape that’s genuinely fun to look at. Unlike a store-bought hard case, a soft crochet sunglasses holder is flexible, lightweight, and easy to toss into a tote bag, backpack, or purse without adding bulk.
Materials List for This Crochet Sunglasses Holder
Gather these supplies before you start your crochet sunglasses holder. Amounts below are approximate for a worsted-weight, medium-size pair of glasses — adjust slightly for oversized frames.
| Material | Amount | Notes |
|---|---|---|
| Yarn A (main body color) | ~20–25 grams, worsted weight (Category 4) | Speckled brown acrylic used in the original sample |
| Yarn B (nose accent) | ~2 grams, worsted weight | Dark brown acrylic for embroidered nose |
| Yarn C (whiskers accent) | ~1 gram, worsted weight | White acrylic for embroidered whiskers |
| Safety eyes | 1 pair, 12mm | Plastic amigurumi safety eyes with backing washers |
Tools Needed
- Crochet hook: 3mm (size D/3, US) — sized down slightly from standard worsted-weight recommendation for a tight, sturdy fabric
- Scissors for trimming yarn
- Darning needle / yarn needle for weaving in ends and embroidering details
- Stitch marker (optional but recommended) to track the start of rounds, especially once you switch to continuous rounds
- Your actual sunglasses on hand, used to check fit while building the crochet sunglasses holder
Abbreviations Chart
| Abbreviation | Meaning |
|---|---|
| CH | Chain |
| SC | Single crochet |
| HDC | Half double crochet |
| DC | Double crochet |
| TR | Triple (treble) crochet |
| INC | Increase (2 stitches in same stitch) |
| BLO | Back loop only |
| SL ST | Slip stitch |
| FO | Fasten off |
| x# | Repeat the preceding instruction # times |
| (…) | Total stitch count at the end of the round |
| […] | Instructions worked into the same single stitch |
Step-by-Step Construction of the Crochet Sunglasses Holder
This crochet sunglasses holder is built from two nearly-identical oval panels worked flat in rows first, then joined and finished in the round to form a snug pouch. Work each round carefully and check your stitch count before moving on — this is the single best habit for a clean crochet sunglasses holder.
Panel Piece (Make 2)
Using Yarn A, chain 21.
Round 1 (44 sts): Starting in the second chain from the hook, increase once, then single crochet across the next 18 chains. Work 4 stitches into the final chain to turn the corner, then continue working single crochet down the opposite side of the starting chain for 18 stitches, and finish with one increase.
Round 2 (52 sts): Increase twice, single crochet 18, work 4 stitches into the same stitch at the tip, single crochet 18, work 4 stitches into the same stitch at the other tip.
Round 3 (60 sts): (1 single crochet, increase) twice; single crochet 18; (1 single crochet, increase) four times; single crochet 18; (1 single crochet, increase) twice.
Round 4 (68 sts): (2 single crochet, increase) twice; single crochet 18; (2 single crochet, increase) four times; single crochet 18; (2 single crochet, increase) twice.
Round 5 (76 sts): (3 single crochet, increase) twice; single crochet 18; (3 single crochet, increase) four times; single crochet 18; (3 single crochet, increase) twice.
Oval panel shape after Round 5 (top view): ____________________ / \ ( flat oval body ) \____________________/ ^ curved tips have concentrated increases
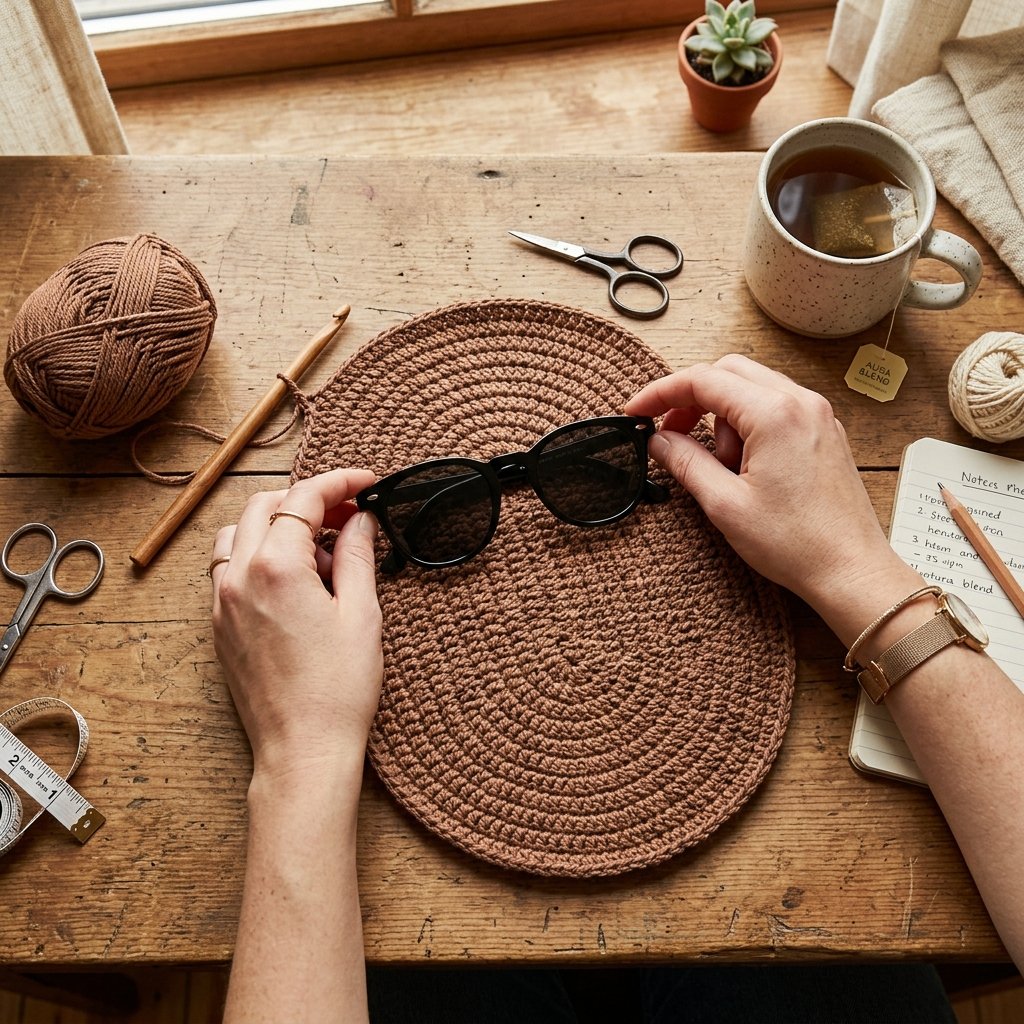
Now lay your sunglasses on top of the flat panel. It should sit snugly, with a little room to spare for the seam allowance. If your glasses are larger, keep the increase pattern going — Round 6 would read (4 sc, inc), Round 7 would read (5 sc, inc), and so on. Just remember that adding rounds changes every stitch count after it, so recalculate as you go.
Once the panel fits your glasses, slip stitch into the first stitch to close the round, fasten off, and weave in the end. Because the “wrong side” faces outward on this first panel, weave the tail into what will become the visible right side.
Now make the second panel for your crochet sunglasses holder: repeat Rounds 1–5 exactly as above (including any extra rounds you added to the first piece so the two panels match) — but this time, do not fasten off. Leave the working loop live; you’ll need it for assembly.
Assembly Instructions
This is where your two flat panels become an actual crochet sunglasses holder with depth and a defined opening.
Step 1 — Place the Safety Eyes
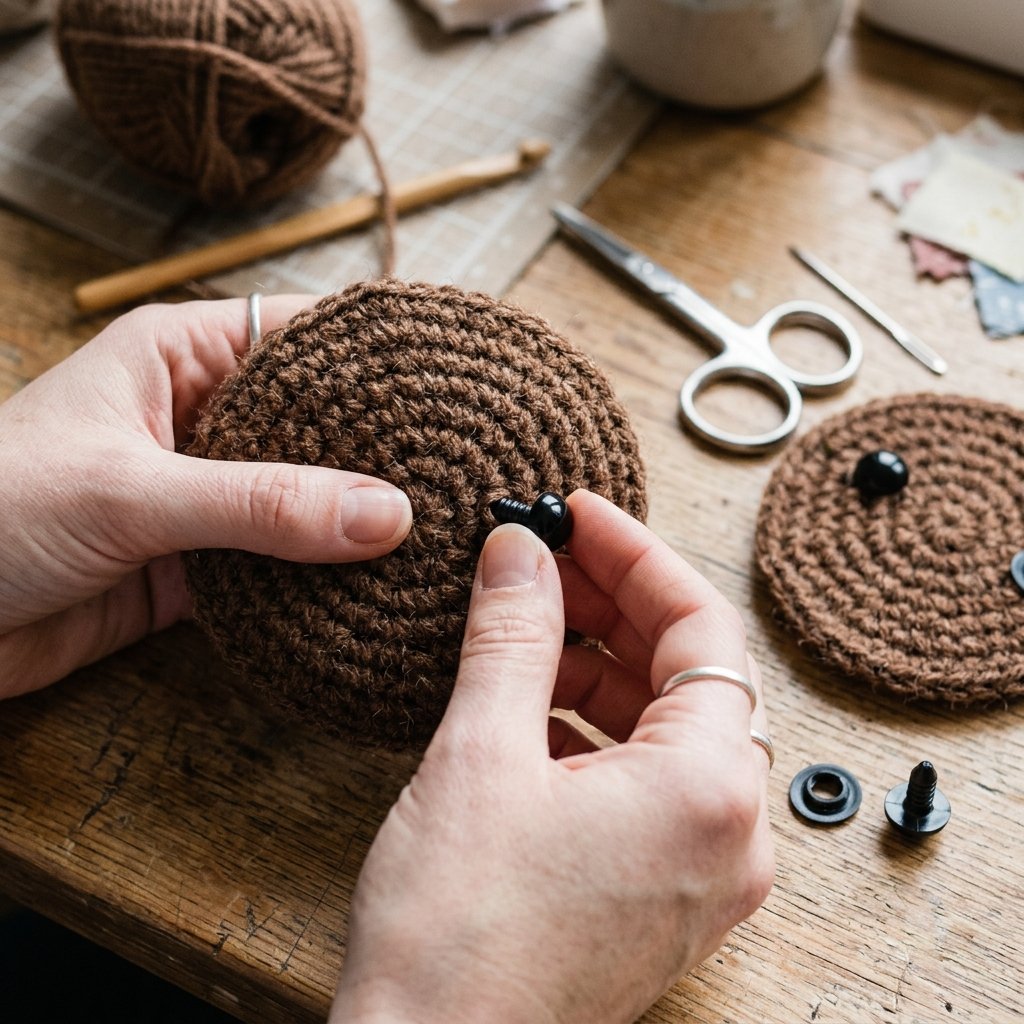
On the second panel only (the one still attached to your working yarn), insert the 12mm safety eyes between Rounds 1 and 2, roughly 10 stitches apart. Hold your actual glasses over the panel to eyeball the spacing before locking the backing washers in place — this simple check keeps your crochet sunglasses holder proportional to the glasses it will hold.
Step 2 — Join the Two Panels
With the second panel’s working loop still live, place both ovals together with their right sides facing outward — meaning the “right” side of panel one faces the “wrong” side of panel two. This sandwiches and hides the backs of the safety eye washers between the layers.
Joining Round (76 sts): Single crochet through both loops of both panels held together, all the way around, then slip stitch into the first stitch to close.
Base Round (76 sts): Chain 1 and turn. Working in the back loops only (which were originally the front loops before you turned), single crochet around and slip stitch into the first stitch. This creates a firm, flat platform that becomes the base of your crochet sunglasses holder.
Back-loop-only stitch, side view: front loop ─┐ ├── stitch top (chain “V”) back loop ─┘ BLO = hook goes only under this loop, leaving the other loop free on the surface
Step 3 — Build the Walls
Turn the work back to the original orientation. From here forward, you’ll work in continuous rounds (no more turning, no more chain-1 at the start).
Round A (76 sts): Chain 1, turn, then single crochet around.
Rounds B–D (76 sts, worked 3 times): Single crochet around.
Yarn weight, hook size, and personal tension will all affect how tall these wall rounds turn out. Three rounds gave a good working height for this sample, but feel free to pinch and mold the walls of your crochet sunglasses holder as you go, and stop whenever the height looks right for your glasses.
Step 4 — Shape the Ears (Top Edge)
Final Shaping Round (76 sts): Work both loops for the first 10 stitches as plain single crochet. Then switch to back-loop-only and work the first ear: single crochet, half double crochet, [half double crochet, double crochet in the same stitch], [double crochet, triple crochet, double crochet in the same stitch], [double crochet, half double crochet in the same stitch], half double crochet, single crochet. Return to both loops for the next 10 single crochet stitches, then repeat the same back-loop-only ear sequence for the second ear. Finish with both loops single crochet across the remaining 46 stitches to complete the round (76 sts total). Fasten off and weave in all ends.
Check that the two ears line up evenly on either side of the opening — this is the detail that makes the finished piece read clearly as a cat-shaped crochet sunglasses holder rather than a plain pouch.
Stuffing, Shaping & Finishing Details
Unlike a stuffed amigurumi toy, this crochet sunglasses holder is not stuffed with fiberfill — the “stuffing” is your actual pair of glasses, and the structure comes from the stitch tension and wall height rather than filling. That said, a couple of finishing touches make a big difference:
- Blocking: lightly steam or wet-block the panels before assembly if your tension is uneven — this helps both ovals match in size.
- Face embroidery: place your glasses over the finished shell to measure where the nose and whiskers should sit before stitching them on.
Embroidering the Nose
Using Yarn B, embroider a small triangular nose between the two safety eyes, one round below eye level.
Embroidering the Whiskers
Using Yarn C, stitch a few straight whisker lines to either side of the nose. Three per side reads clearly without overcrowding the front of the crochet sunglasses holder.
Troubleshooting Your Crochet Sunglasses Holder
Panel is too small for my glasses: Continue the increase pattern established in Rounds 1–5 (moving to (4 sc, inc), then (5 sc, inc), etc.) on both panels equally, and recalculate stitch counts for every round after the change.
Panel is too large / glasses slide around: Stop increasing one or two rounds earlier than the pattern suggests, or drop to a smaller hook size for a tighter gauge.
Ears don’t match each other: Count stitches carefully before and after each ear section — the both-loops sections (10 sc / 46 sc) must stay exact for the back-loop-only ear stitches to land symmetrically.
Safety eyes look uneven: Remove the backing washer, reposition using your actual glasses as a placement guide, and re-check spacing from both the front and a side angle before locking it in.
Walls of the holder look floppy: Add one extra continuous round, or switch to a smaller hook for denser fabric — a firmer gauge is what gives a crochet sunglasses holder its structure.
Yarn & Color Variations for Your Crochet Sunglasses Holder
The cat-face silhouette works beautifully in almost any colorway. A few swap ideas for your own crochet sunglasses holder:
- Classic tabby: speckled brown main body, dark brown nose, white whiskers (the sample shown here)
- Black cat: solid black main body, pink or dark grey nose, white whiskers for contrast
- Orange tabby: heathered orange main body, brown nose, white whiskers
- Grey/white tuxedo: grey main body with a white panel color-blocked into the base round, black nose
- Novelty option: skip the cat ears shaping round entirely and finish with a plain rounded top edge for a non-animal crochet sunglasses holder that still uses the same base construction
Estimated Time to Complete
For a confident beginner comfortable with basic single crochet and increases, this crochet sunglasses holder typically takes 3–4 hours total, broken down roughly as:
- Two flat panels: 60–90 minutes
- Safety eye placement and panel joining: 20–30 minutes
- Wall and ear shaping rounds: 45–60 minutes
- Embroidery and finishing: 20–30 minutes
Common Mistakes and How to Fix Them
| Mistake | Fix |
|---|---|
| Losing track of the round start | Use a stitch marker in the first stitch of every round, especially once you move to continuous rounds |
| Working both loops instead of back loop only | Check your hook is only picking up the loop closest to you before completing the stitch — refer back to the BLO diagram above |
| Panels don’t match in size | Always count stitches at the end of every round on both panels, and lightly block both pieces before joining |
| Ears come out lopsided | Recount the both-loop stitch sections on either side of each ear before starting the ear sequence |
| Glasses don’t fit once finished | Test-fit constantly during construction rather than only at the end — a crochet sunglasses holder is much easier to adjust mid-pattern than after fastening off |
Care Instructions
To keep your finished crochet sunglasses holder looking its best:
- Hand wash in cool water with a mild detergent if using acrylic yarn; lay flat to dry to preserve shape
- Avoid direct high heat (dryers, radiators) which can distort acrylic stitches
- Store the holder itself in a drawer or bag pocket when not holding your glasses, so it keeps its shape
- Re-tighten or re-glue safety eye washers if they ever loosen with repeated use
Frequently Asked Questions About Crochet Sunglasses Holders
How can I make a DIY eyeglass holder?
The method above — two increased oval panels joined around a pair of safety eyes, then finished with a few rounds of walls — is a reliable way to make a DIY eyeglass holder that fits your exact frames.
What yarn is best for a glasses holder?
Worsted weight (Category 4) acrylic or cotton yarn worked at a slightly tighter gauge than usual gives the firmest, most protective fabric for a crochet sunglasses holder. Cotton adds structure; acrylic adds softness and easy washing.
What is the best organizer for sunglasses?
For a single pair, a fitted crochet sunglasses holder like this one offers padded, portable protection. For multiple pairs at home, a stand or wall-mounted rack is more practical, but a soft crochet case remains the best on-the-go option.
How do I make a DIY glasses holder strap?
A simple chain-and-slip-stitch cord attached to either side of a finished crochet sunglasses holder converts it into a wearable strap-style holder — chain to your preferred length, slip stitch back along the chain to reinforce it, then sew the ends to the holder’s side seams.
What can hold my glasses in place at night or on a nightstand?
A finished crochet sunglasses holder works well as a nightstand catch-all for glasses since the padded walls keep the frames upright and protected from being knocked off the edge.
Final Thoughts
Once you’ve made one crochet sunglasses holder, the pattern is easy to resize for reading glasses, kids’ sunglasses, or gift-sized versions for friends. Tag your finished crochet sunglasses holder when you share it online.


![Baby crochet patterns free – [materials and gauge swatch / motif square in progress / joined motif front panel / shell stitch back panel / finished baby vest]](https://crochetloversclub.com/wp-content/uploads/2026/08/Crochet_baby_vest_laid_flat_202608271945-768x768.jpeg)