

Amigurumi Pumpkin with Braces: Free Crochet Pattern for Halloween
If you have been searching for a cute, beginner-friendly project for the spooky season, this amigurumi pumpkin with braces pattern is exactly what you need. This amigurumi pumpkin with braces tutorial walks you through every single crochet row, so even if you are new to amigurumi you will be able to finish your own amigurumi pumpkin with braces in one sitting. The design was originally shared by Brazilian designer Fabiana Carstensen (@punkt.rumi), and in this guide we translate and expand her method so English-speaking crocheters can make their own amigurumi pumpkin with braces without any confusion.
Whether you want an amigurumi pumpkin with braces free pattern to sell at a craft fair, gift to a friend who wears braces, or simply add a funny face to your Halloween decor, this amigurumi pumpkin with braces project checks every box. Below you will find the full stitch count, the curly pumpkin stem crochet pattern free instructions, safety-eye placement tips, and finishing touches like the felt mouth and blush cheeks seen in the original photos.
Why Make an Amigurumi Pumpkin with Braces This Halloween?
An amigurumi pumpkin with braces stands out from the usual jack-o’-lantern crowd because of its playful, slightly nerdy charm. Instead of a scary carved face, this amigurumi pumpkin with braces has a soft crocheted body, rosy cheeks, and a tiny row of “braces” stitched across its smile. It is a quick single-skein project, which makes the amigurumi pumpkin with braces perfect for last-minute Halloween gifts, classroom crafts, or market stalls.
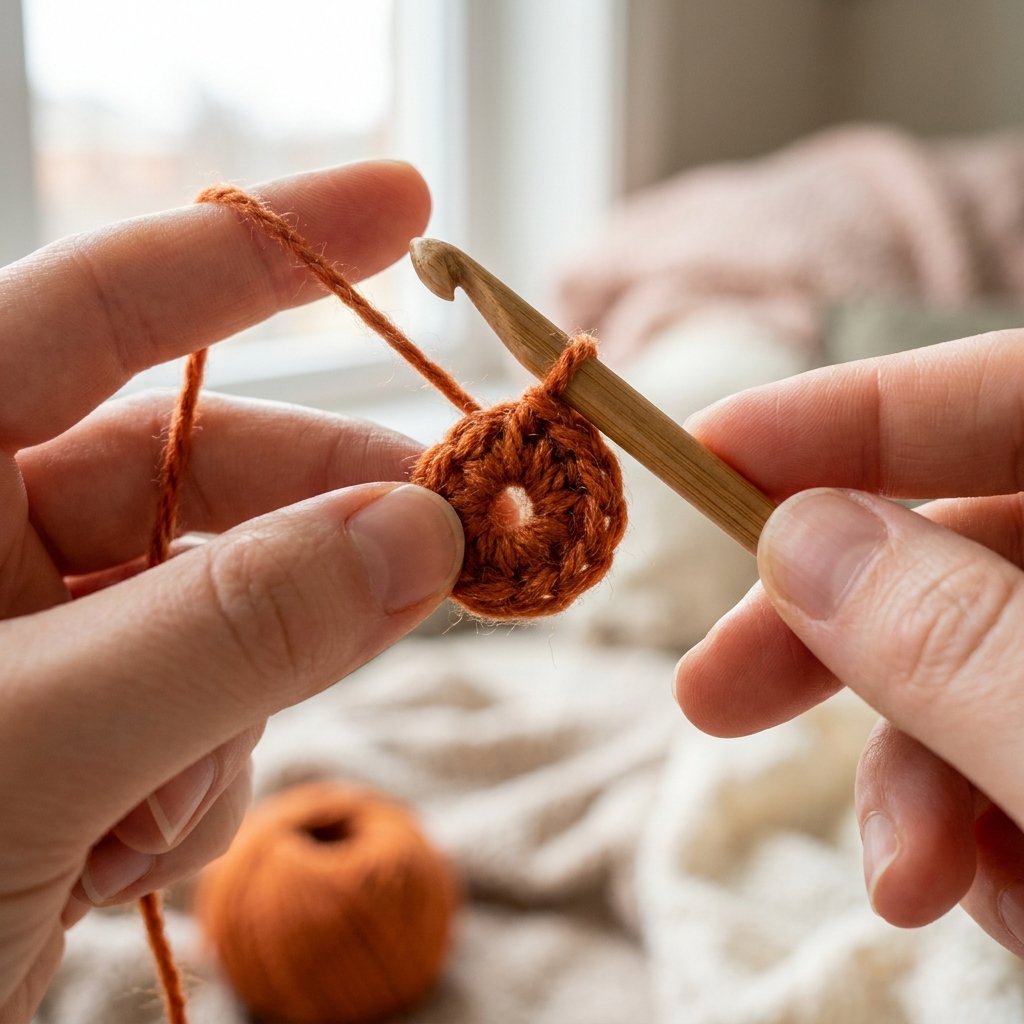
What You Need Before Starting Your Amigurumi Pumpkin with Braces
- Worsted weight (medium 4) yarn in orange, plus small amounts of green, brown or black
- 3.0-3.5mm crochet hook (adjust to your yarn for a tight amigurumi fabric)
- Polyester fiberfill stuffing
- Safety eyes (size appropriate for a small amigurumi pumpkin with braces)
- Black felt and white or silver embroidery floss for the braces detail
- Tapestry needle and stitch marker
- Pink blush (chalk, eyeshadow, or blush pen) for the cheeks
Tip: Because every amigurumi pumpkin with braces uses safety eyes, always attach them before you finish stuffing the head — never after a child could reach them.
Amigurumi Pumpkin with Braces: Free Pattern Instructions
This section gives you the complete row-by-row amigurumi pumpkin with braces free pattern. All stitches are written in US crochet terms. Work in a continuous spiral (no joining, no turning) and use a stitch marker to track your rounds when crocheting your amigurumi pumpkin with braces.
Abbreviations Used in This Amigurumi Pumpkin with Braces Pattern
| Abbreviation | Meaning |
|---|---|
| MR | Magic ring |
| sc | Single crochet |
| inc | Increase (2 sc in same stitch) |
| dec | Decrease (invisible or standard sc2tog) |
| ( ) | Repeat instructions inside brackets |
| [ ] | Total stitch count at end of round |
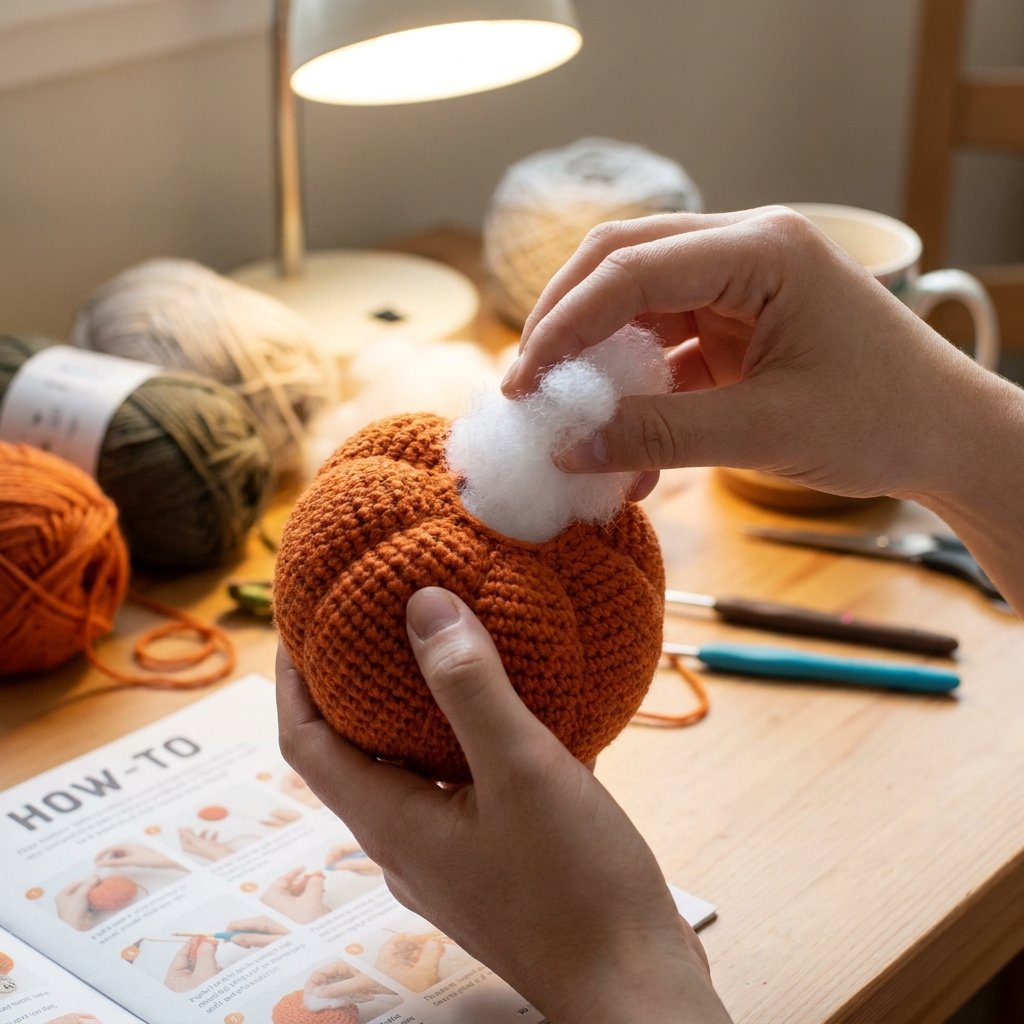
Body of the Amigurumi Pumpkin with Braces (Worked in Orange)
- Round 1: 6 sc in MR [6]
- Round 2: inc in every st around [12]
- Round 3: (1 sc, inc) x6 [18]
- Round 4: (2 sc, inc) x6 [24]
- Round 5: (3 sc, inc) x6 [30]
- Round 6: (4 sc, inc) x6 [36]
- Round 7: (5 sc, inc) x6 [42]
- Round 8: (6 sc, inc) x6 [48]
- Round 9: (7 sc, inc) x6 [54]
- Round 10: sc around, no increases [54]
- Rounds 11–19: sc around, straight rounds to build the height of the amigurumi pumpkin with braces body [54]
- Round 20: (8 sc, dec) x6 [48]
- Round 21: (7 sc, dec) x6 [42]
- Round 22: (6 sc, dec) x6 [36]
- Round 23: (5 sc, dec) x6 [30]
At this point, insert the safety eyes for your amigurumi pumpkin with braces, spacing them evenly across rounds 15–17, then stuff the body of the amigurumi pumpkin with braces firmly, adding more fiberfill as you continue closing the top.
here you can find all my free pattern.
here you can find all pandas croshet
here you can find all baby kids croshet
here you can find bandana croshet
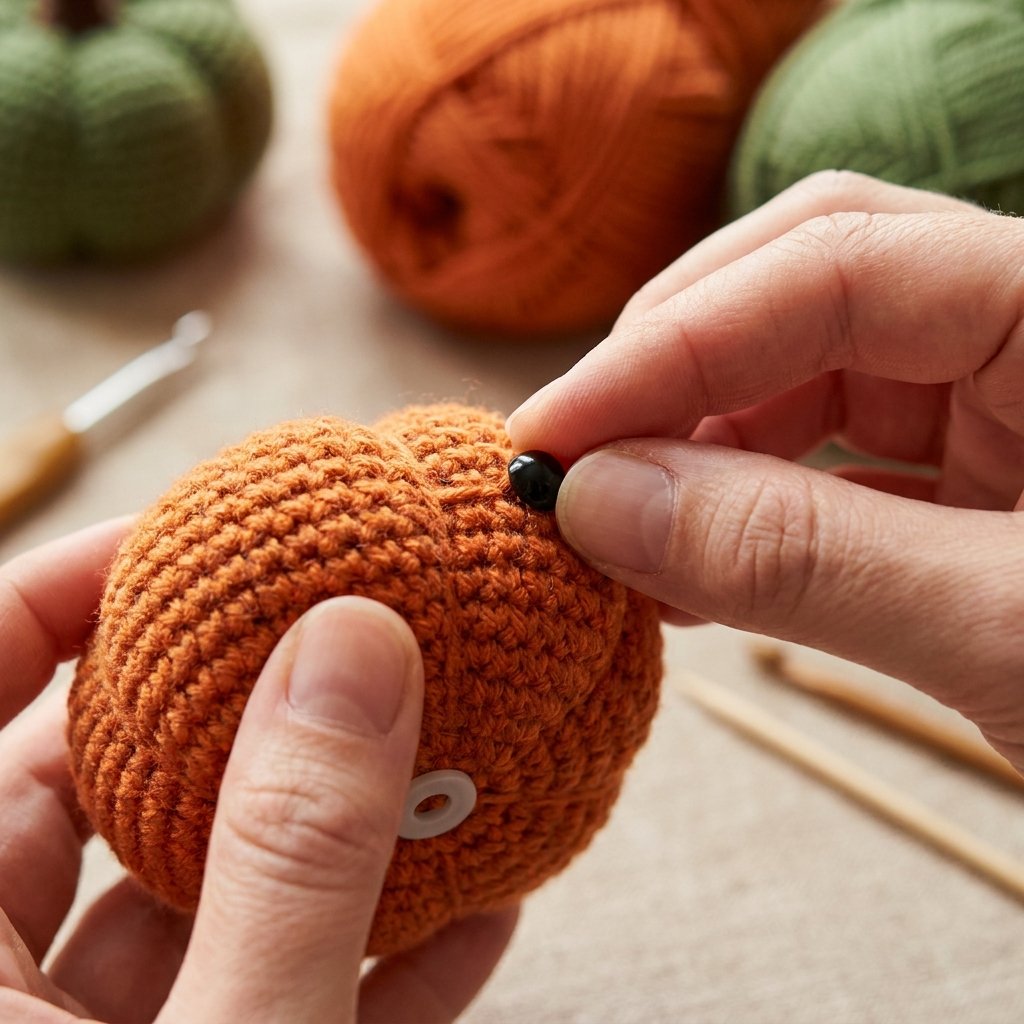
Closing the Top of the Amigurumi Pumpkin with Braces
Cut the yarn leaving a long tail of about one meter (roughly a yard). Thread it onto your tapestry needle and weave it through the front loops of the remaining stitches around the top opening, exactly as described in the original amigurumi pumpkin with braces pattern. Pull tight to close, then use the same tail to sew down into the center of the pumpkin and back out the side — this creates the classic pumpkin “ribs” look on your amigurumi pumpkin with braces.
Ribbing tip: Pass the needle from the top center, down through the body, and back up along a different point six to eight times, pulling firmly each time. This step is what gives an amigurumi pumpkin with braces its authentic ridged pumpkin shape.
Pumpkin Stem Crochet Pattern Free: Finishing the Amigurumi Pumpkin with Braces
No amigurumi pumpkin with braces is complete without its curly green stem. This pumpkin stem crochet pattern free section shows you exactly how the original designer finished her amigurumi pumpkin with braces stem.
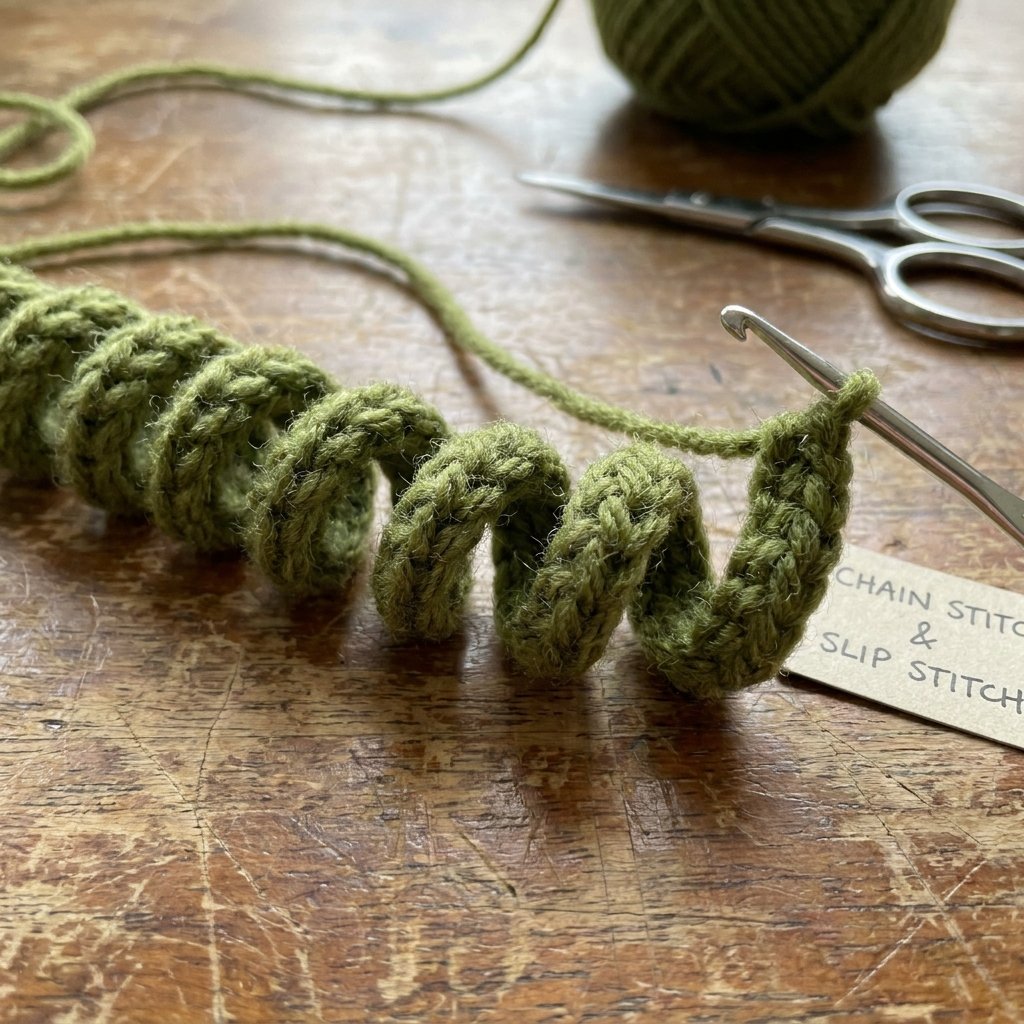
Stem Instructions
- Join green yarn at the center top of the closed pumpkin.
- Chain 15.
- Starting from the second chain from the hook, work back down the chain with slip stitches, then continue around the base to form a spiral coil.
- Repeat the chain-and-slip-stitch motion in the same starting point several times to build up a thick, curly stem for your amigurumi pumpkin with braces, then fasten off and weave in ends.
This curled cord technique — sometimes called “rococó” trim — is what gives the amigurumi pumpkin with braces its playful, spiraled stem instead of a plain straight one.
Adding the Braces: The Signature Detail of the Amigurumi Pumpkin with Braces
The braces are what truly make an amigurumi pumpkin with braces unique compared to a standard amigurumi jack-o’-lantern. Here is how to recreate them:
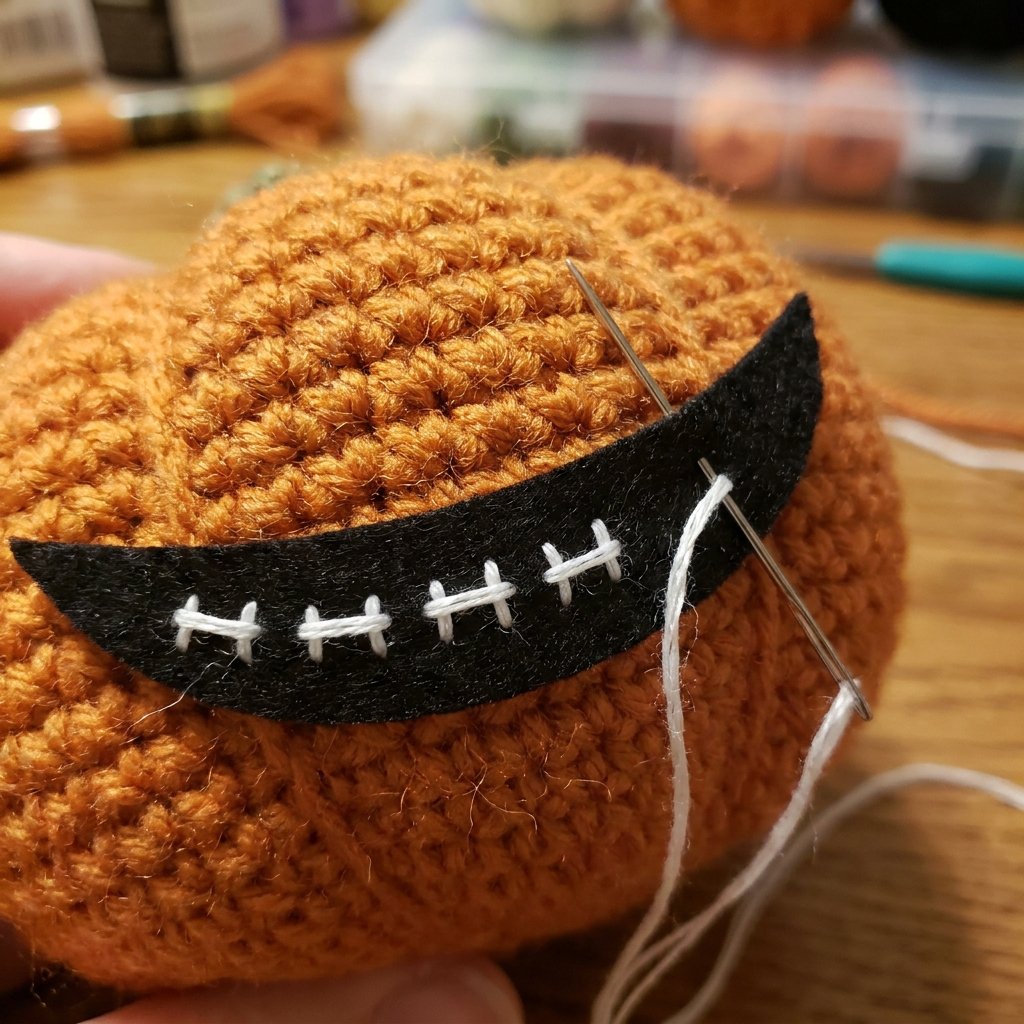
Step-by-Step Braces Application
- Cut a small curved smile shape from black felt and glue or sew it onto the front of your amigurumi pumpkin with braces, just below the eyes.
- Using white or silver embroidery floss, stitch small straight lines across the felt mouth to mimic dental braces.
- Add tiny cross-stitches or seed beads along the row for a glinting metallic brace effect on your amigurumi pumpkin with braces.
- Finish by brushing pink blush onto the cheeks on either side of the mouth to give the amigurumi pumpkin with braces a warm, blushing expression.
Safety note: If your amigurumi pumpkin with braces will be given to a small child, use embroidered or crocheted eyes and mouth details instead of small plastic safety eyes, beads, or glued felt pieces, since these can be a choking hazard.
Styling Ideas for Your Amigurumi Pumpkin with Braces
Once you finish your first amigurumi pumpkin with braces, try these variations:
- Make a whole family of amigurumi pumpkins with braces in different sizes for a Halloween garland.
- Swap the orange yarn for white or cream to make a ghost-pumpkin version of the amigurumi pumpkin with braces.
- Add a tiny crocheted witch hat on top of your amigurumi pumpkin with braces for extra Halloween flair.
- Photograph a trio of amigurumi pumpkins with braces side by side, each with a different facial expression, just like in the designer’s original reveal photos.
Sharing Your Amigurumi Pumpkin with Braces
The original designer, Fabiana Carstensen, encourages crocheters to tag her (@punkt.rumi) when sharing their finished amigurumi pumpkin with braces on social media. If you post your own amigurumi pumpkin with braces, consider using hashtags like #amigurumipumpkinwithbraces and #crochethalloween so other makers can find your work.
Amigurumi Pumpkin with Braces: Quick Reference Stitch Count
| Round | Action | Stitch Count |
|---|---|---|
| 1 | MR, 6 sc | 6 |
| 2 | inc around | 12 |
| 3–9 | gradual increase rounds | 18–54 |
| 10–19 | straight sc rounds | 54 |
| 20–23 | gradual decrease rounds | 48–30 |
Frequently Asked Questions About the Amigurumi Pumpkin with Braces
Is the amigurumi pumpkin with braces pattern good for beginners?
Yes. The amigurumi pumpkin with braces uses only single crochet, increases, and decreases, which makes it an ideal first amigurumi project even if you have never made an amigurumi pumpkin with braces before.
How long does it take to crochet an amigurumi pumpkin with braces?
Most crocheters can finish the body of an amigurumi pumpkin with braces in two to three hours, with an additional 30–45 minutes for the stem, braces, and face details.
Can I sell my finished amigurumi pumpkin with braces?
Many designers allow finished items from their free patterns to be sold, but always check the original creator’s terms before selling your own amigurumi pumpkin with braces commercially, since pattern-writing rights and finished-item rights are different things.
What size hook should I use for an amigurumi pumpkin with braces?
A 3.0–3.5mm hook with worsted weight yarn keeps the stitches of your amigurumi pumpkin with braces tight enough that the stuffing won’t show through.
Final Thoughts on Your Amigurumi Pumpkin with Braces
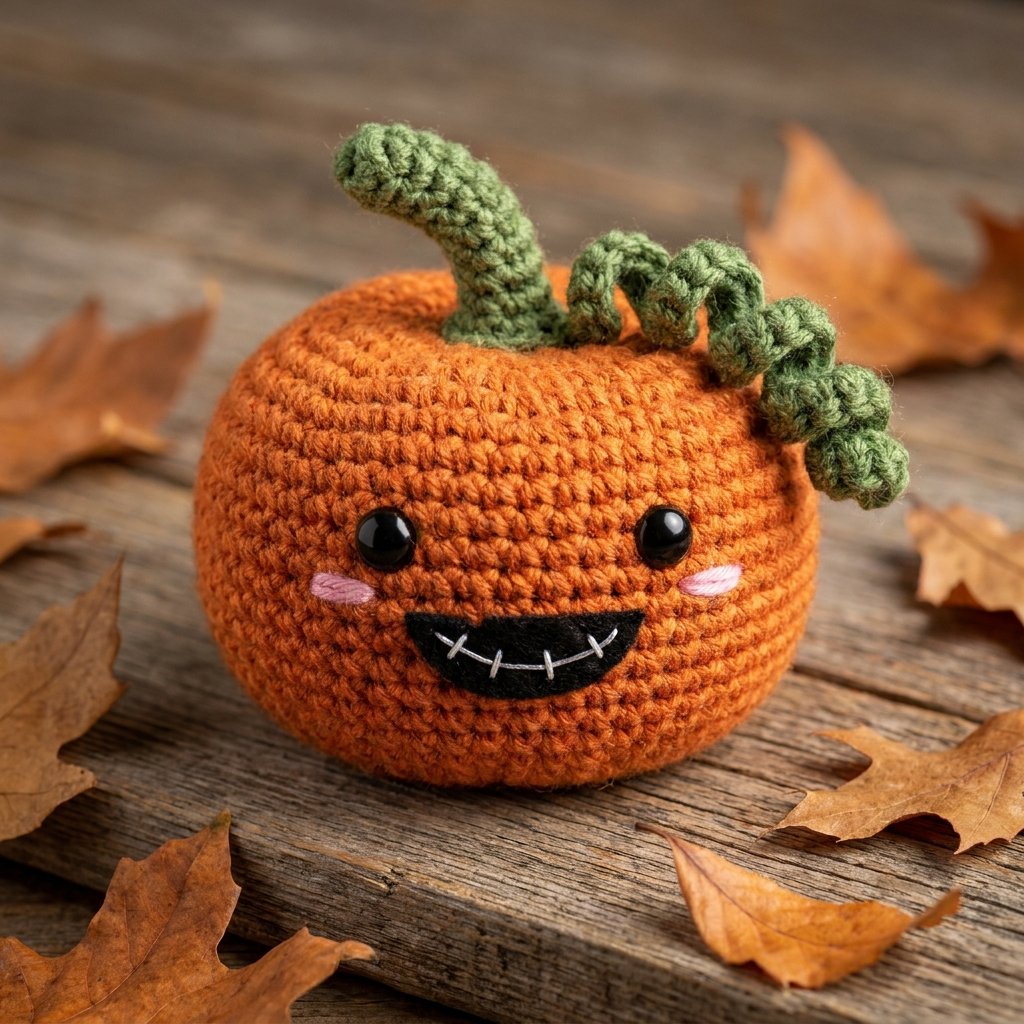
This amigurumi pumpkin with braces free pattern gives you everything you need — the rounded ribbed body, the curly stem from this pumpkin stem crochet pattern free guide, and the signature felt-and-floss braces — to create a charming Halloween keepsake. However many you decide to make, each amigurumi pumpkin with braces is sure to bring a smile (with or without braces) to whoever receives it.


![Amigurumi Crochet Pattern HALLOWEEN doll – [finished doll / head and body / legs and shoes / ruffled dress / witch hat / curly wig]](https://crochetloversclub.com/wp-content/uploads/2026/08/Crochet_witch_doll_sitting_202608271734-768x768.jpeg)

