

Crochet Car Accessories: The Free Shamrock Car Coaster Pattern Every Beginner Needs
I still remember the first time someone complimented my cup holder instead of my outfit. I’d just finished a set of little green shamrock coasters for my own car, tossed them in the console, and forgot about them — until a friend hopped in, looked down, and said, “Wait, did you make these?” That’s the moment I fell in love with crochet car accessories. They’re small, they’re fast, and they turn a boring commute into a tiny, cozy design statement.
If you’ve been searching for crochet car accessories ideas, you’re in exactly the right place. In this post, I’m going to walk you through everything: why crochet car accessories have become one of the biggest trends in the fiber-arts world, the questions everyone is asking about them, and — the main event — my complete, tested pattern for Shamrock Car Coasters, written round-by-round so even a beginner can follow along.
Grab your hook. Let’s make something your car will actually thank you for.
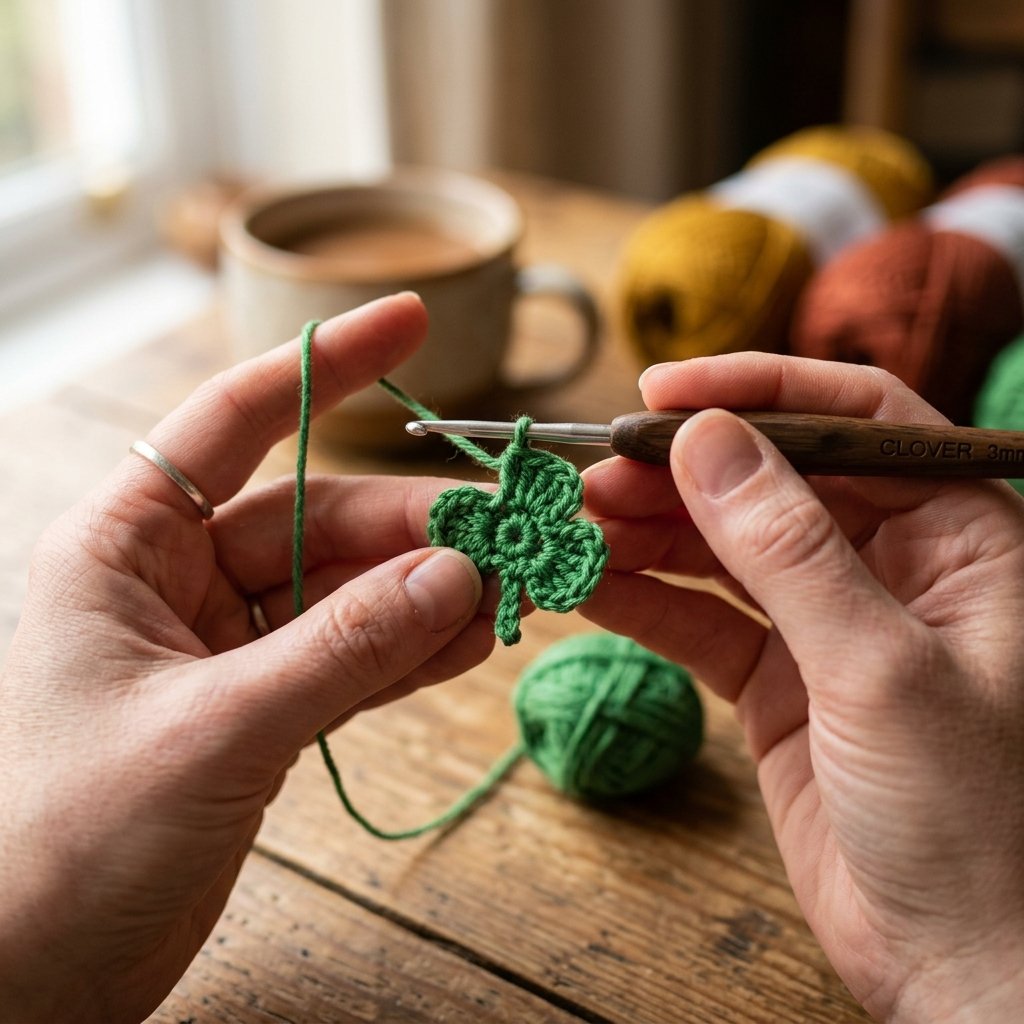
Table of Contents
- Why Crochet Car Accessories Are Everywhere Right Now
- Your Crochet Car Accessories Questions, Answered
- Meet the Pattern: Shamrock Car Coasters
- Materials & Tools You’ll Need
- Abbreviations Chart
- Step-by-Step Construction
- Assembly Instructions
- Finishing Techniques
- Troubleshooting
- Color & Yarn Swap Variations
- Estimated Time to Complete
- Common Mistakes (and How to Fix Them)
- Care Instructions
- Final Thoughts
Why Crochet Car Accessories Are Everywhere Right Now
Scroll through any craft hashtag today and you’ll see it: crochet car accessories are having a moment. Mirror charms, gear shift covers, seatbelt pillows, air freshener holders, and — my personal favorite — car coasters, are popping up in every color combination imaginable. There’s a good reason for that. Crochet car accessories are small enough to finish in an evening, cheap enough to make from scrap yarn, and personal enough that no two sets ever look the same.
As someone who has designed crochet patterns professionally for two decades, I’ve watched a lot of trends come and go. But crochet car accessories have real staying power because they solve a problem most amigurumi and blanket patterns don’t: they’re useful. A crocheted car coaster protects your cup holder. A crocheted mirror charm swings happily from your rearview mirror and makes people smile at red lights. That blend of function and handmade charm is exactly why crochet car accessories keep showing up in my “what should I make next” DMs.
Your Crochet Car Accessories Questions, Answered
Before we get to the pattern, let’s tackle the questions I hear most often about crochet car accessories — the same ones people are typing into Google right before they land here.
What can I crochet for a car? This is the big one. When people ask what to crochet for a car, I always point them toward small, functional shapes first: cup holder coasters, steering wheel covers, gear shift covers, seatbelt strap covers, rearview mirror charms, and tissue box covers. These are the crochet car accessories that get the most use — and the most compliments — because they’re visible every single time you drive.
What are some good crochet patterns for car accessories? Free crochet patterns for car accessories are all over the internet, but the good ones (like the Shamrock Car Coasters below) give you exact stitch counts for every round, not vague instructions. That’s the difference between a crochet car accessories pattern that frustrates you and one that actually works the first time.
What is the highest-selling crochet item? In my experience selling handmade goods, small, giftable items — car coasters, keychains, and mini stuffed animals — consistently outsell large projects like blankets, simply because they’re cheaper and faster for the customer to say “yes” to. Within the world of crochet car accessories specifically, coasters and mirror charms tend to be the top sellers because they double as gifts.
Is selling crochet profitable? It can be, especially with crochet car accessories, because the materials cost is low (a coaster uses just a few grams of yarn) and the finished product feels like a premium, personal gift. The key is pricing for your time, not just your materials.
What are some cool crochet accessories? Beyond crochet car accessories, cool crochet accessories right now include phone charms, cardigan pins, scrunchies, and market bags. But car-specific pieces remain some of the most fun to design because you’re working within a small, defined shape — perfect for a quick project between bigger ones.
Why is Gen Z into crochet? A lot of it comes down to what I’d call “productive relaxation” — crochet gives your hands something to do while your mind rests, which is part of why it’s often described as an ADHD-friendly hobby. Crochet car accessories fit that perfectly: they’re small enough to finish the same day you start, so you get that dopamine hit of a finished project fast.
What sells well at craft fairs? Small, useful, visually charming items move quickly at craft fairs, and crochet car accessories check every one of those boxes. A basket of shamrock or flower-shaped car coasters at a spring market, for example, sells itself.
Now that we’ve covered the big questions, let’s get into the actual pattern.
Meet the Pattern: Shamrock Car Coasters
This is one of my favorite crochet car accessories to teach beginners, because it combines two simple shapes — a shamrock and a circle — into one finished, functional coaster. It’s designed to fit a standard car cup holder, and once you’ve made one set, you’ll want to make a set of crochet car accessories for every season (hearts for Valentine’s Day, pumpkins for fall, snowflakes for winter — the circle base works for all of them).
Pattern Notes:
- This pattern is written in U.S. crochet terminology.
- Please do not copy, sell, or claim this pattern as your own. Feel free to sell the finished product made from this pattern, and tag me so I can see your crochet car accessories creations! ❤️
Materials & Tools You’ll Need
Here’s exactly what you need to make this set of crochet car accessories — no guessing required.
Yarn:
- Size 3 (light worsted/DK weight) yarn in light green or dark green — approximately 5–7 grams for the two shamrocks
- Size 3 (light worsted/DK weight) yarn in white — approximately 12–15 grams for the two circle pads
Tools:
- 6mm crochet hook
- Scissors
- Yarn/tapestry needle (for sewing the shamrock to the pad and weaving in ends)
- Stitch marker (optional, but helpful for tracking rounds on the circle pads)
Abbreviations Chart
| Abbreviation | Meaning |
|---|---|
| MR | Magic Ring |
| CH | Chain |
| ST | Stitch |
| SC | Single Crochet |
| HDC | Half Double Crochet |
| DC | Double Crochet |
| TR | Triple (Treble) Crochet |
| SL ST | Slip Stitch |
| INC | Increase (2 stitches in 1) |
| FO | Finish Off |
Step-by-Step Construction
This is where the magic happens. As with all my crochet car accessories patterns, I’ve broken every round down with the stitch count in parentheses so you always know if you’re on track.
Part 1: The Shamrocks (make 2, in green yarn)
The shamrock is built as three petals worked directly from a magic ring, followed by a stem.
Round 1 (petals):
MR, (CH3, TR, DC, TR, CH3, SL ST into MR) — repeat this petal sequence
3 times total.

     petal        petal
      🍀            🍀
        \          /
         \        /
          [ MR ]
             |
          petal
            🍀
- Into your Magic Ring: CH3, TR, DC, TR, CH3, SL ST into MR.
- Repeat that same sequence 2 more times (3 petals total).
- Pull the magic ring closed.
Stem:
- CH2
- SC into the 2nd stitch from the hook
- HDC into the 3rd stitch
- SC into the 4th stitch
- SL ST into the rest of the 3 stitches
- SL ST into the center of the magic ring
- FO, leaving a long tail for sewing.
Repeat this entire shamrock once more so you have 2 shamrocks total — one for each crochet car coaster.
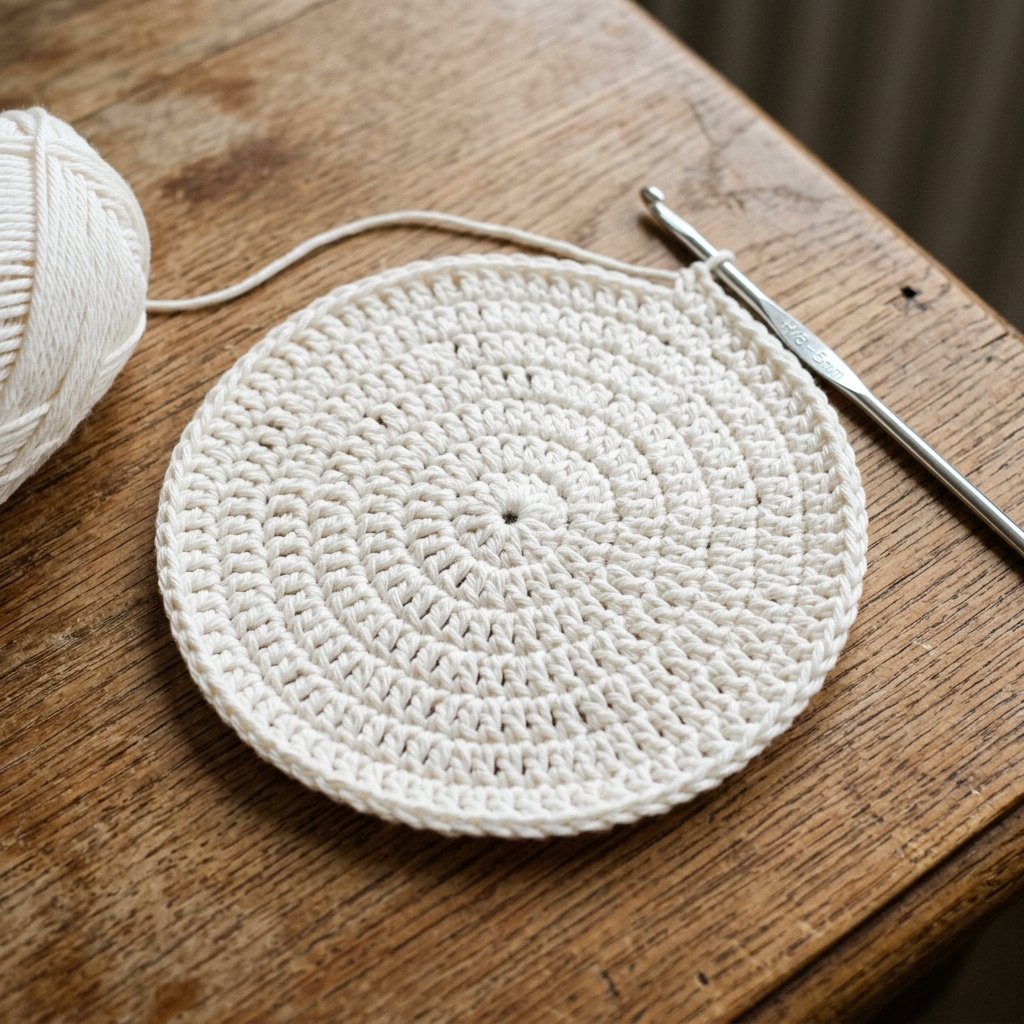
Part 2: The White Circle Pads (make 2, in white yarn)
Note: this circle is sized for a standard car cup holder. If your cup holder is larger, add one extra round: Round 5: (8 SC, INC) x 6 (30 stitches) before finishing off.
        ⬤ R1 (6)
      ⬤⬤⬤⬤ R2 (12)
    ⬤⬤⬤⬤⬤⬤ R3 (18)
  ⬤⬤⬤⬤⬤⬤⬤⬤ R4 (24)
- Round 1: 6 SC in Magic Ring. (6 stitches)
- Round 2: [HDC x 2] around — repeat 6 times. (12 stitches)
- Round 3: (HDC, [HDC x 2]) around — repeat 6 times. (18 stitches)
- Round 4: (HDC, HDC, [HDC x 2]) around — repeat 6 times. (24 stitches)
- FO, leaving a tail for weaving in (or sewing, if you’re skipping the tail from your shamrock).
Repeat to make a second circle pad, for a total of 2 — one per coaster.
Assembly Instructions
- Lay your white circle pad flat, right side facing up.
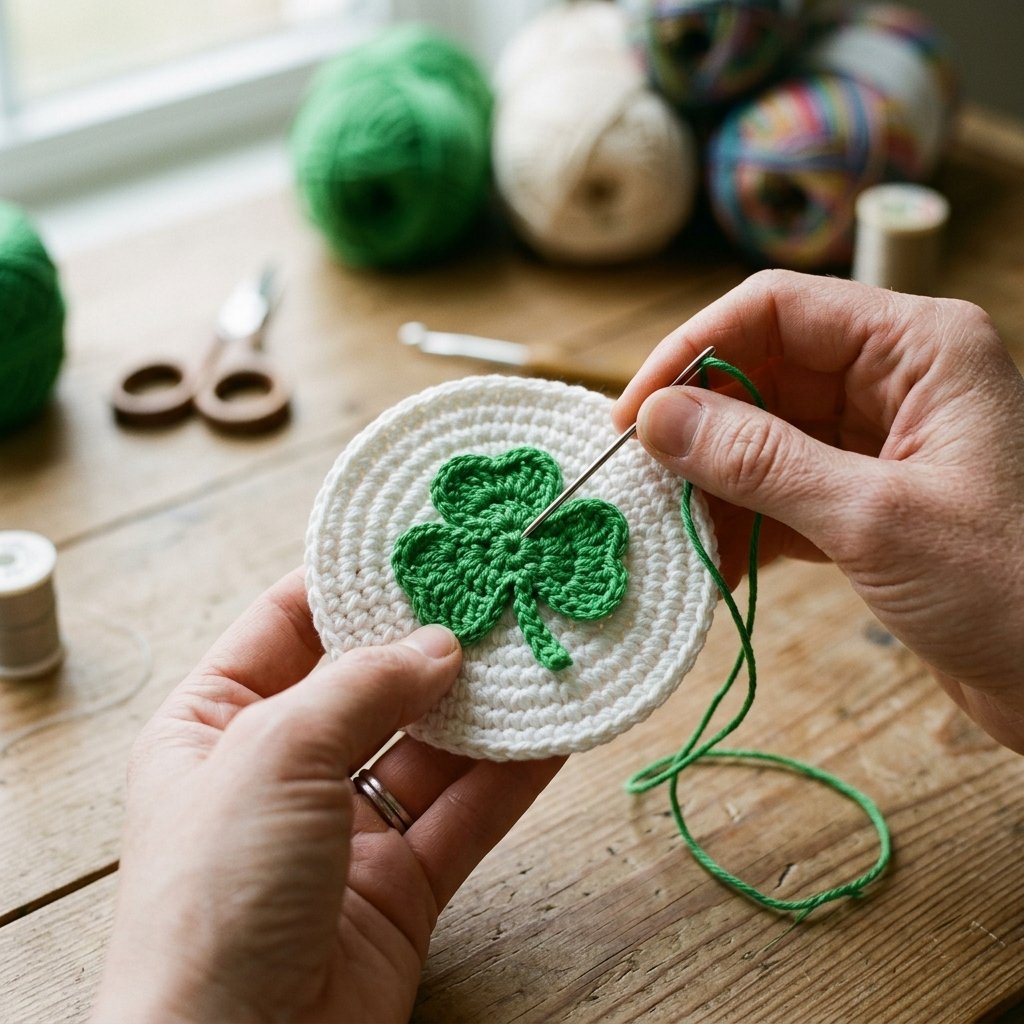
- Center your green shamrock on top of the circle, making sure the three petals are evenly spaced with the stem pointing toward the edge or straight down the middle (your choice — this is where your crochet car accessories get their personality).
- Using the long tail left on the shamrock, sew it directly onto the center of the circle pad with small, even stitches, tacking down the center and each petal tip so it lies flat.
- Weave in all remaining ends on the back of the coaster.
- Repeat for the second coaster.
Finishing Techniques
- Weaving in ends: Thread each tail onto your yarn needle and run it through several stitches on the wrong side of the piece, changing direction once to lock it in place, then trim close to the fabric.
- Blocking (optional): If your circle pad is cupping instead of lying flat, a light steam block (hover a steamer an inch above the piece, never touch it directly) will relax the stitches into a flat, coaster-ready shape.
- Stiffening (optional): Since these crochet car accessories will see daily use in a cup holder, a light coat of fabric stiffener or a diluted PVA glue wash on the back can help the coaster keep its shape and resist absorbing spills.
Troubleshooting
My shamrock petals look floppy or uneven. This usually means the tension on your treble and double crochet stitches is too loose. Try holding the working yarn a little firmer as you pull through each stitch, or drop down half a hook size.
My circle pad is ruffling at the edges instead of lying flat. This is the classic sign of too many increases for the round you’re on. Double-check your stitch count against the pattern — if Round 4 doesn’t land on 24, you’ve added an extra increase somewhere. Frog back to the last correct count and recount your increases.
My circle pad is cupping like a bowl instead of lying flat. The opposite problem — not enough stitches for the round to lie flat. Make sure you’re increasing in every round exactly as written; skipping an increase anywhere in a set of crochet car accessories like this will cause cupping.
My shamrock won’t sit centered on the pad. Pin it in place with a stitch marker or a straight pin before sewing, then step back and eyeball it from above before you commit to stitching it down.
The magic ring hole won’t close. Make sure you’re pulling the tail end, not the working yarn, and pull slowly and evenly rather than yanking — a magic ring that’s tugged too fast can slip.
Color & Yarn Swap Variations
Once you’ve mastered this base shape, you can turn it into dozens of different crochet car accessories just by swapping colors and the center motif:
- Fall leaf coasters: Swap green for burnt orange and rust, and adjust the petal shape into a simple 5-point leaf.
- Heart coasters: Replace the 3-petal shamrock with two joined half-circles for a Valentine’s-themed set of crochet car accessories.
- Sunflower coasters: Use yellow petals with a small brown French-knot center instead of the stem.
- Team-color coasters: Match the circle pad and shamrock to a favorite sports team’s colors for an easy gift.
- Ombré pads: Work each round of the white circle in a slightly different shade for a subtle gradient effect.
Estimated Time to Complete
For a beginner who is comfortable with basic stitches (SC, HDC, DC) but new to magic rings and treble crochet, plan for:
- Each shamrock: 15–20 minutes
- Each circle pad: 20–25 minutes
- Assembly (sewing) per coaster: 5–10 minutes
- Total for one full set of 2 coasters: roughly 1.5 to 2 hours
Once you’ve made your first set of these crochet car accessories, expect that time to drop by almost half on your second set.
Common Mistakes (and How to Fix Them)
- Miscounting stitches in the magic ring petals. It’s easy to lose track of where round 1 starts. Place a stitch marker in your first stitch of each petal sequence until it becomes automatic.
- Working the stem into the wrong stitches. The stem instructions (CH2, SC, HDC, SC) are worked back down the chain you just made — go slowly the first time and count each stitch from the hook.
- Using the wrong yarn weight. Size 3 (light/DK) yarn with a 6mm hook gives this pattern its slightly puffy, textured look. Using a thinner yarn on the same hook will leave your crochet car accessories looking loose and holey.
- Forgetting to leave a long tail. If you finish off and cut the yarn too short on the shamrock, you won’t have enough length to sew it to the pad. Leave at least 10–12 inches.
- Skipping gauge on cup holder size. Not all car cup holders are the same size — measure yours before you start, and remember you can always add Round 5 to the circle pad if you need a larger coaster.
Care Instructions
To keep your crochet car accessories looking fresh:
- Spot clean with a damp cloth and mild soap for coffee or drink spills — most car coasters will take on some spills over time, so treat them quickly.
- Hand wash in cool water if the coaster needs a deeper clean, then reshape while damp and lay flat to dry.
- Avoid the dryer — heat can warp the stitch shape and, if you used a stiffener, cause it to become brittle.
- Re-stiffen occasionally if you treated the back with fabric stiffener, since daily use in a cup holder will wear it down faster than a decorative piece would.
Final Thoughts
Crochet car accessories are, hands-down, one of the most satisfying categories of small crochet projects: quick to make, genuinely useful, and endlessly customizable once you understand the basic shamrock-and-circle formula. Whether you’re making this Shamrock Car Coaster set for St. Patrick’s Day, gifting a pair to a friend, or building out a whole shop of seasonal crochet car accessories, this pattern is designed to give you a solid, repeatable foundation.
If you make a set, I’d love to see them — tag me in your finished crochet car accessories so I can share in the fun. And if this pattern helped you, stick around: I’m always designing new crochet car accessories, from mirror charms to steering wheel covers, so there’s more to come.
Happy hooking! 🍀


![Baby crochet patterns free – [materials and gauge swatch / motif square in progress / joined motif front panel / shell stitch back panel / finished baby vest]](https://crochetloversclub.com/wp-content/uploads/2026/08/Crochet_baby_vest_laid_flat_202608271945-768x768.jpeg)