

Looking for a free crochet pumpkin pattern that works up with simple stitches, looks wonderfully plush, and fits every fall decorating style? This free crochet pumpkin pattern makes a squishy, chunky amigurumi pumpkin with a ribbed, segmented shape and a little tan stem. The entire free crochet pumpkin pattern is built from single crochet, increases and decreases, so it is friendly for beginners and satisfying for experienced makers.
Below you will find the full written free crochet pumpkin pattern, a supplies list, every round explained, and an FAQ with answers to the most common questions about the best free crochet pumpkin pattern options, from beginner tips to PDF printing.
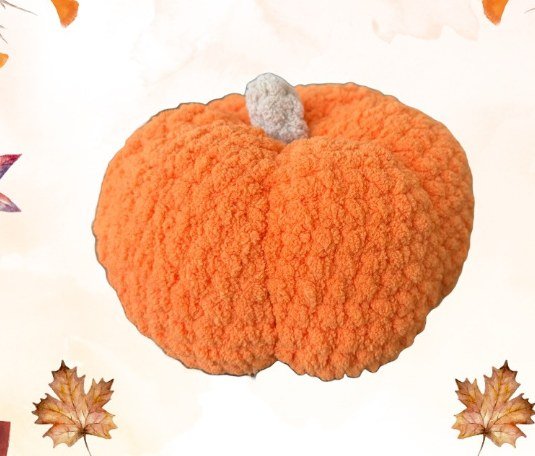
Quick answer: what is this free crochet pumpkin pattern?
It is a free, written crochet pumpkin pattern worked in the round from a magic ring with a 7mm hook and chunky yarn. You crochet and stuff an orange ball, wrap matching worsted weight yarn through the center to shape the pumpkin segments, then add a small tan stem.
Free Crochet Pumpkin Pattern at a Glance
| Project | Plush amigurumi pumpkin for fall decor |
|---|---|
| Skill level | Beginner friendly (magic ring, single crochet, increase, decrease) |
| Hook | 7mm |
| Body and stem yarn | Chunky weight (category 6) yarn in orange and tan |
| Segment yarn | Worsted weight (category 4) yarn in a matching body color |
| Filling | Fiberfill, stuffed but not too firmly |
| Recommended segments | 6 (make as many as you like) |
Why You Will Love This Free Crochet Pumpkin Pattern
- Beginner friendly: this free crochet pumpkin pattern uses only four basic techniques.
- Plush and cozy: chunky yarn gives the crochet pumpkin a soft, squishy look that stands out on any shelf.
- Customizable: choose your own number of segments and match the worsted weight yarn to your body color for a seamless finish.
- Perfect for the season: use it as autumn decor, a Halloween accent, a Thanksgiving table piece, or a handmade gift.
Free Crochet Pumpkin Pattern Supplies and Abbreviations
Gather these materials before you start the free crochet pumpkin pattern. Everything below comes straight from the original pattern.
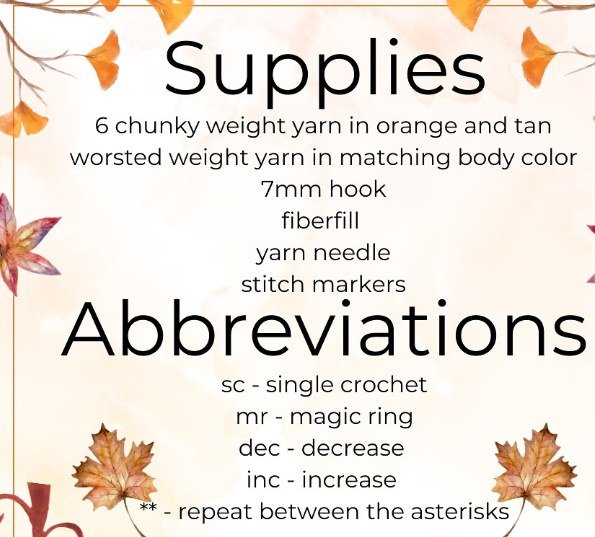
Supplies
- Chunky weight (6) yarn in orange and tan
- Worsted weight yarn in a color that matches the pumpkin body
- 7mm hook
- Fiberfill
- Yarn needle
- Stitch markers
Abbreviations (US terms)
- sc = single crochet
- mr = magic ring
- dec = decrease
- inc = increase
- ** = repeat the stitches between the asterisks
Free Crochet Pumpkin Pattern Instructions
This free crochet pumpkin pattern has three parts: the body, the segments, and the stem. Work in continuous rounds and use a stitch marker to keep track of the start of each round.
Part 1: Crochet the Pumpkin Body (Orange)
Start the free crochet pumpkin pattern in your body color (orange).
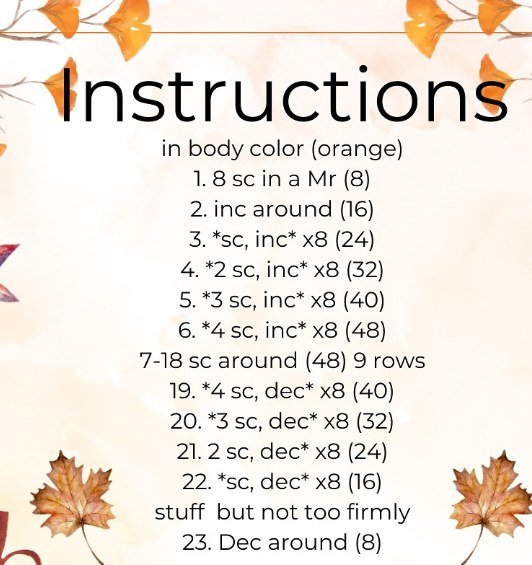
- 8 sc in a magic ring (8)
- Inc around (16)
- *Sc, inc* x8 (24)
- *2 sc, inc* x8 (32)
- *3 sc, inc* x8 (40)
- *4 sc, inc* x8 (48)
- Rounds 7 to 18: sc around (48)
- *4 sc, dec* x8 (40)
- *3 sc, dec* x8 (32)
- *2 sc, dec* x8 (24)
- *Sc, dec* x8 (16)
Stuff the pumpkin, but not too firmly.
- Dec around (8)
Round numbers above are shown as written in the original free crochet pumpkin pattern (rounds 1 to 6, then 7 to 18, then 19 to 23). Keep the long tail from your last round, because you will need it in Part 2.
Part 2: Create the Pumpkin Segments
This is the step that turns a round ball into a real pumpkin. It is also what makes this free crochet pumpkin pattern so quick to customize.
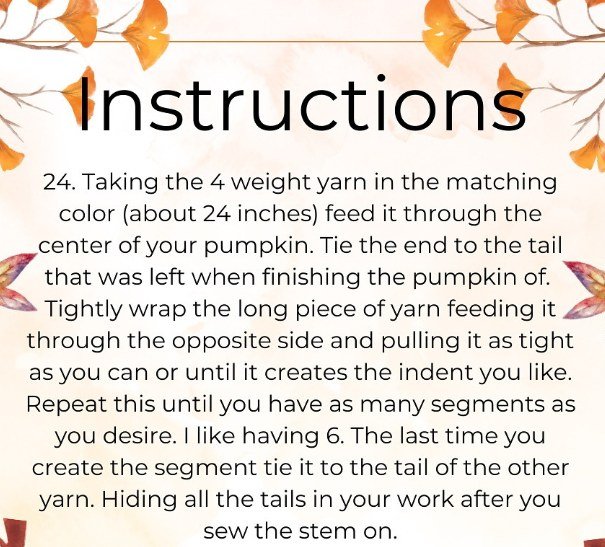
- Take the worsted weight (4) yarn in the matching color, about 24 inches long, and feed it through the center of your pumpkin.
- Tie the end to the tail that was left when you finished off the pumpkin.
- Wrap the long piece of yarn tightly around the outside, feed it through the opposite side, and pull it as tight as you can, or until it creates the indent you like.
- Repeat until you have as many segments as you desire. The pattern author likes six.
- For the last segment, tie the yarn to the tail of the other yarn.
- Hide all the tails in your work after you sew the stem on.
Part 3: Crochet and Attach the Stem (Tan)
Switch to your stem color (tan) to finish the free crochet pumpkin pattern.
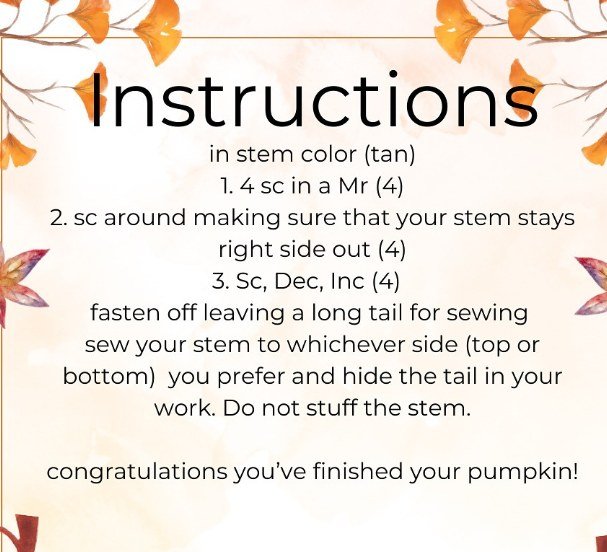
- 4 sc in a magic ring (4)
- Sc around, making sure the stem stays right side out (4)
- Sc, dec, inc (4)
Fasten off, leaving a long tail for sewing. Sew the stem to whichever side (top or bottom) you prefer, then hide the tail in your work. Do not stuff the stem.
Congratulations, you have finished your pumpkin! You now have a plush handmade pumpkin from this free crochet pumpkin pattern, ready for your mantel, table or gift basket.
Tips for Success With This Free Crochet Pumpkin Pattern
- Use a stitch marker every round. This free crochet pumpkin pattern is worked in a spiral, so a marker prevents miscounts.
- Stuff gently. The instructions say to stuff but not too firmly, which leaves room for the segment wraps to create deep indents.
- Pull the segment yarn tight. The harder you pull, the more defined your crochet pumpkin ribs will look.
- Match the worsted weight yarn to the body. It blends into the chunky stitches and keeps the finished pumpkin clean looking.
- Keep your tails. You need the tail from the body for the segments and the tail from the stem for sewing.
Color and Decor Ideas for Your Free Crochet Pumpkin Pattern
Orange and tan is the classic combination, but you can use any matching colors. Make a small group in different yarn shades for an autumn centerpiece, line them up along a mantel for Halloween, or place one at each seat for Thanksgiving dinner. Because this free crochet pumpkin pattern is quick to repeat, it also works well for handmade gifts and craft fair tables. Save this free crochet pumpkin pattern to your favorite crochet board so it is easy to find next fall.
Free Crochet Pumpkin Pattern: Frequently Asked Questions
Is this free crochet pumpkin pattern good for beginners?
Yes. This free crochet pumpkin pattern for beginners uses only a magic ring, single crochet, increases and decreases, worked in the round with no complicated stitches. If you can crochet in a spiral and use stitch markers, you can finish this pumpkin.
Is there a free crochet pumpkin pattern PDF?
The complete free crochet pumpkin pattern is written out on this page. To get a free crochet pumpkin pattern PDF for offline use, open your browser’s print menu and choose Save as PDF.
What makes this the best free crochet pumpkin pattern for fall decor?
It is a simple, no-sew-body design: one stuffed ball, a few yarn wraps to shape the ribs, and a small stem. The chunky yarn gives a plush, squishy look, which is why many crocheters call it one of the best free crochet pumpkin patterns for mantels, shelves and tablescapes.
How do I make a large crochet pumpkin with this simple free crochet pumpkin pattern?
The pattern as written uses chunky yarn and a 7mm hook for a plush pumpkin. For a simple large crochet pumpkin, you can try thicker yarn with a larger hook and add stuffing, but keep in mind that gauge changes the finished size, so test a small swatch first.
What yarn do I need for this free crochet pumpkin pattern?
You need chunky weight yarn (category 6) in orange for the body and tan for the stem, plus worsted weight (category 4) yarn in a color that matches the body for the segment wraps.
How many segments should the crochet pumpkin have?
You can make as many segments as you like. The pattern author likes six, which gives a classic ribbed pumpkin shape.
Do I stuff the pumpkin stem?
No. Do not stuff the stem. Sew it on with the long tail, and hide all remaining tails inside your work.
Final Thoughts on This Free Crochet Pumpkin Pattern
This free crochet pumpkin pattern gives you a plush, handmade pumpkin using nothing more than single crochet, simple shaping, and a few wraps of yarn. Whether you were searching for a free crochet pumpkin pattern for beginners, a free crochet pumpkin pattern PDF to keep, or the best free crochet pumpkin pattern to start your fall crochet season, you now have every round in one place. Gather your chunky yarn, pick up your 7mm hook, and make your first pumpkin today. If you enjoyed this free crochet pumpkin pattern, share it with a crochet friend and tag your finished pumpkins so others can find the pattern too.


![Amigurumi Crochet Pattern HALLOWEEN doll – [finished doll / head and body / legs and shoes / ruffled dress / witch hat / curly wig]](https://crochetloversclub.com/wp-content/uploads/2026/08/Crochet_witch_doll_sitting_202608271734-768x768.jpeg)